
Last updated November 21, 2026
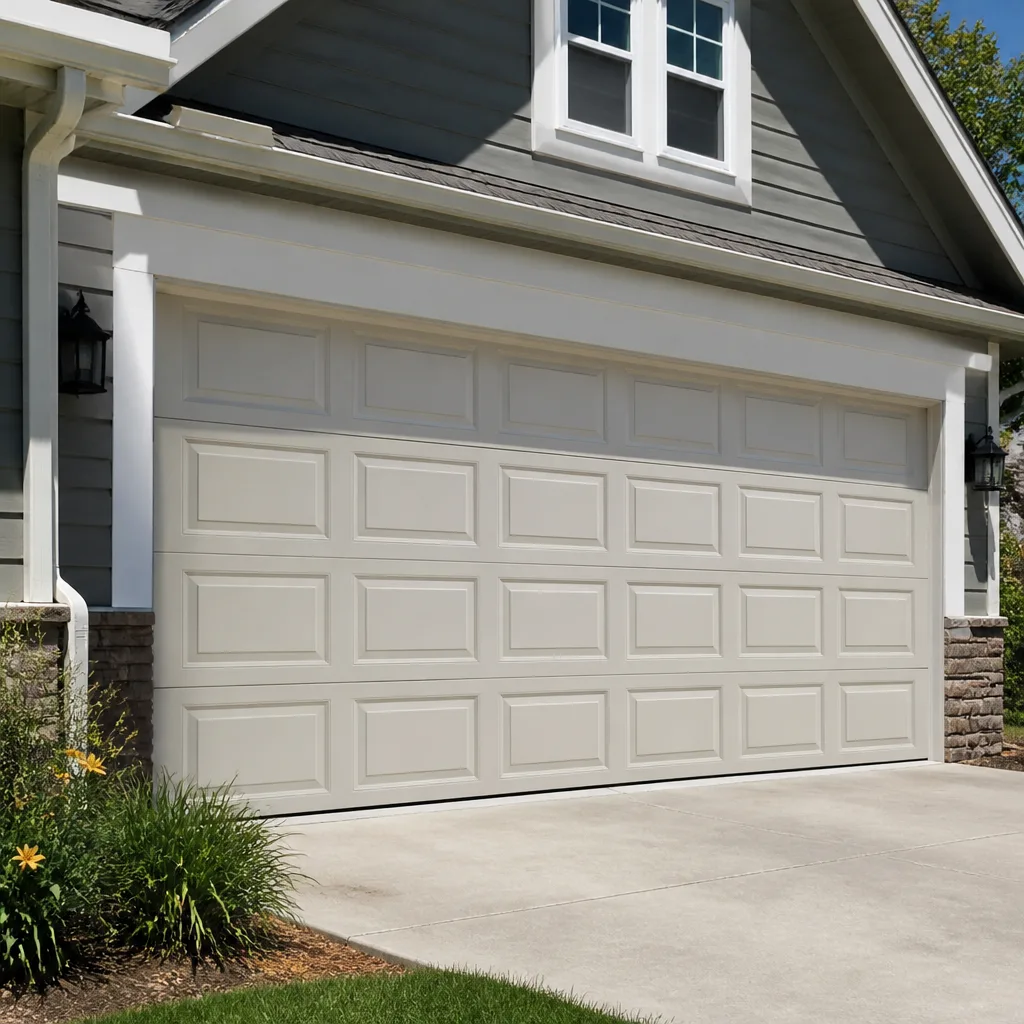 Raised-panel steel
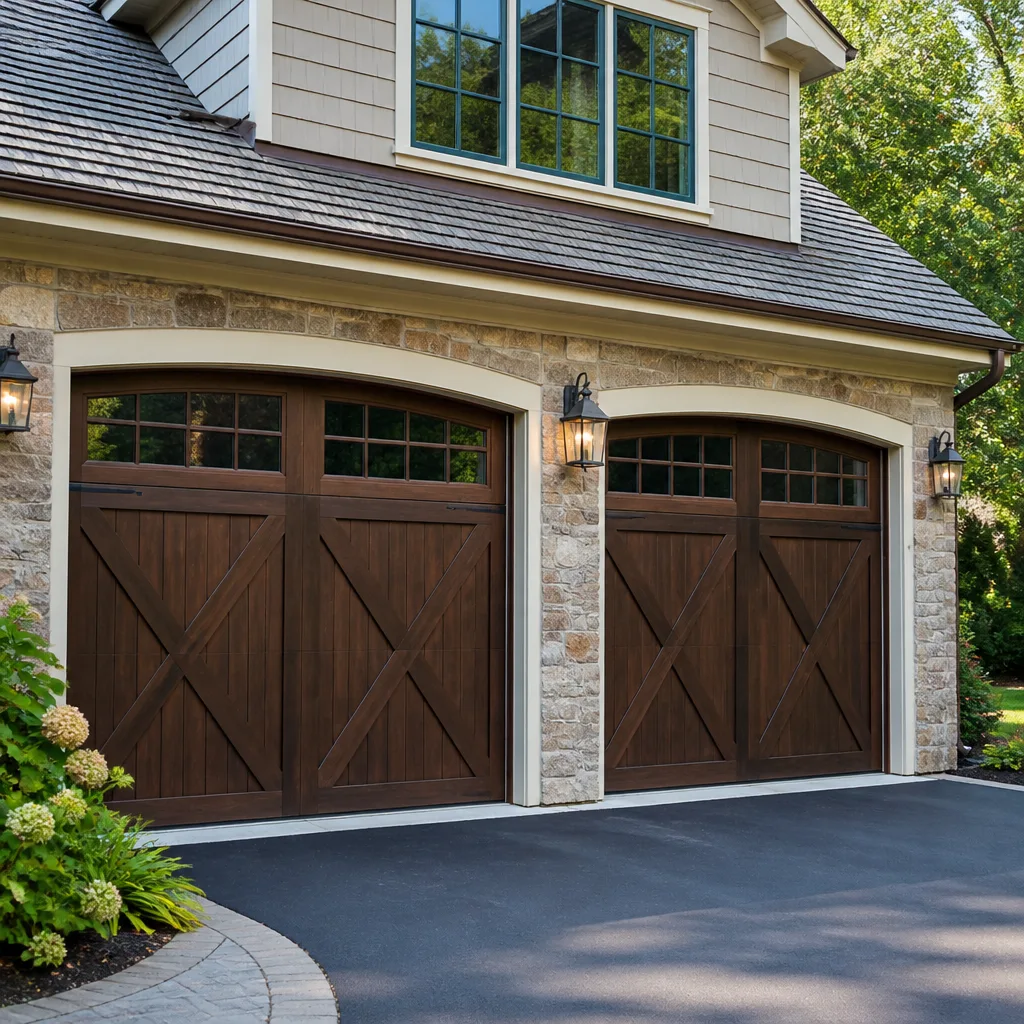 Carriage house
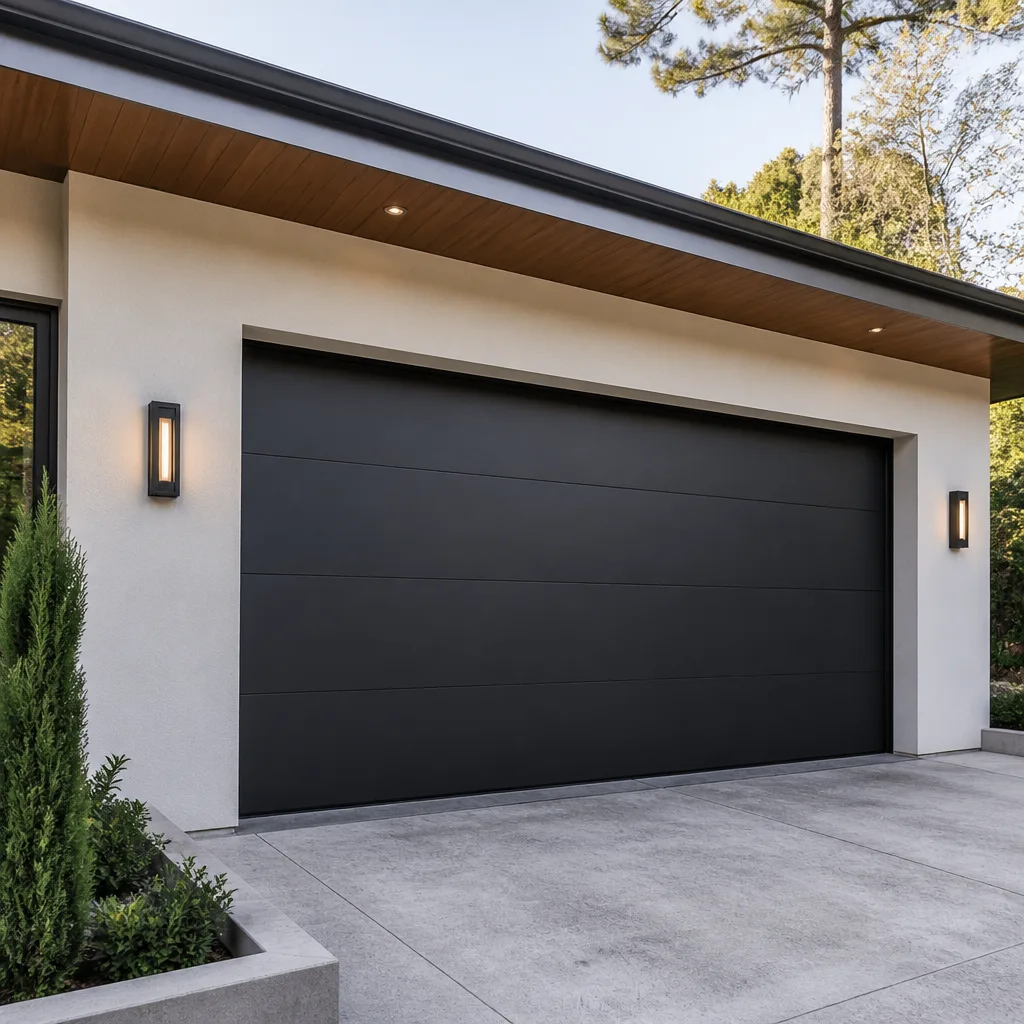 Modern flush
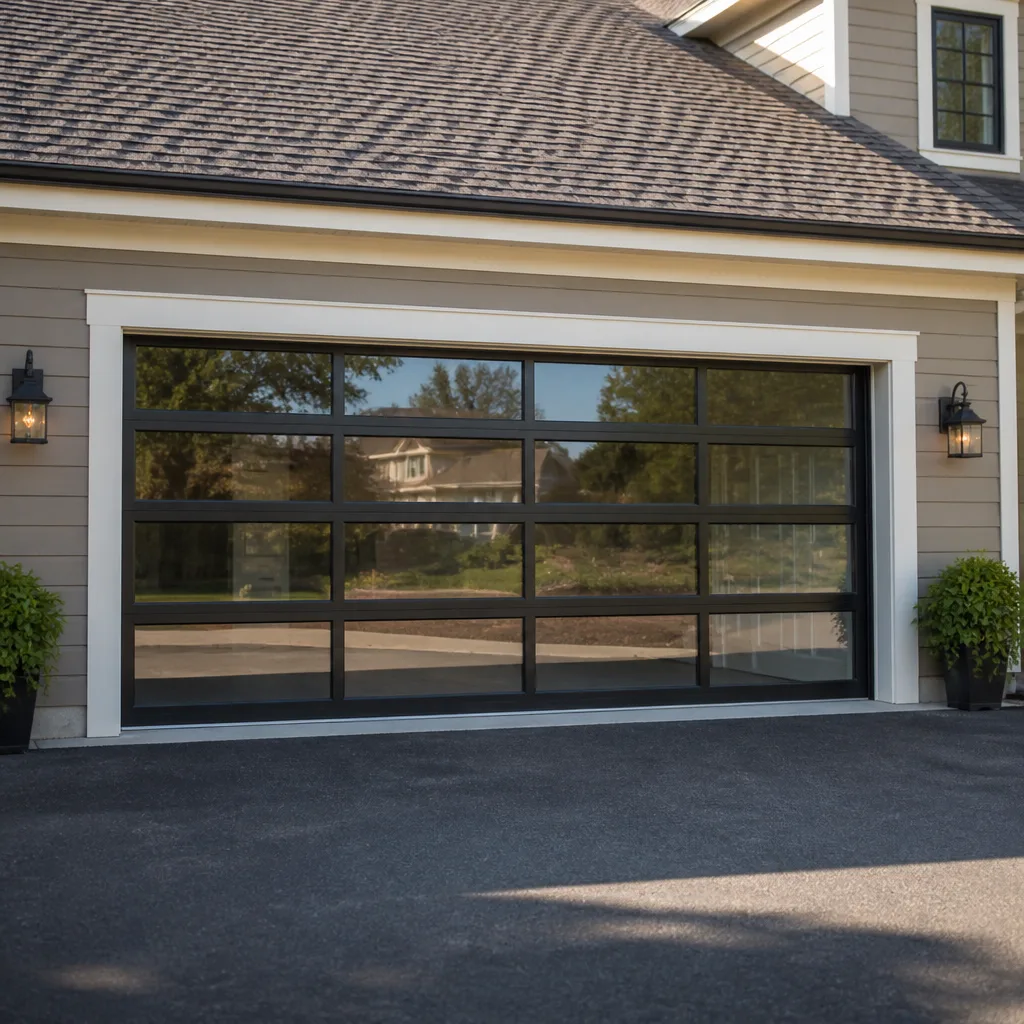 Full-view glass
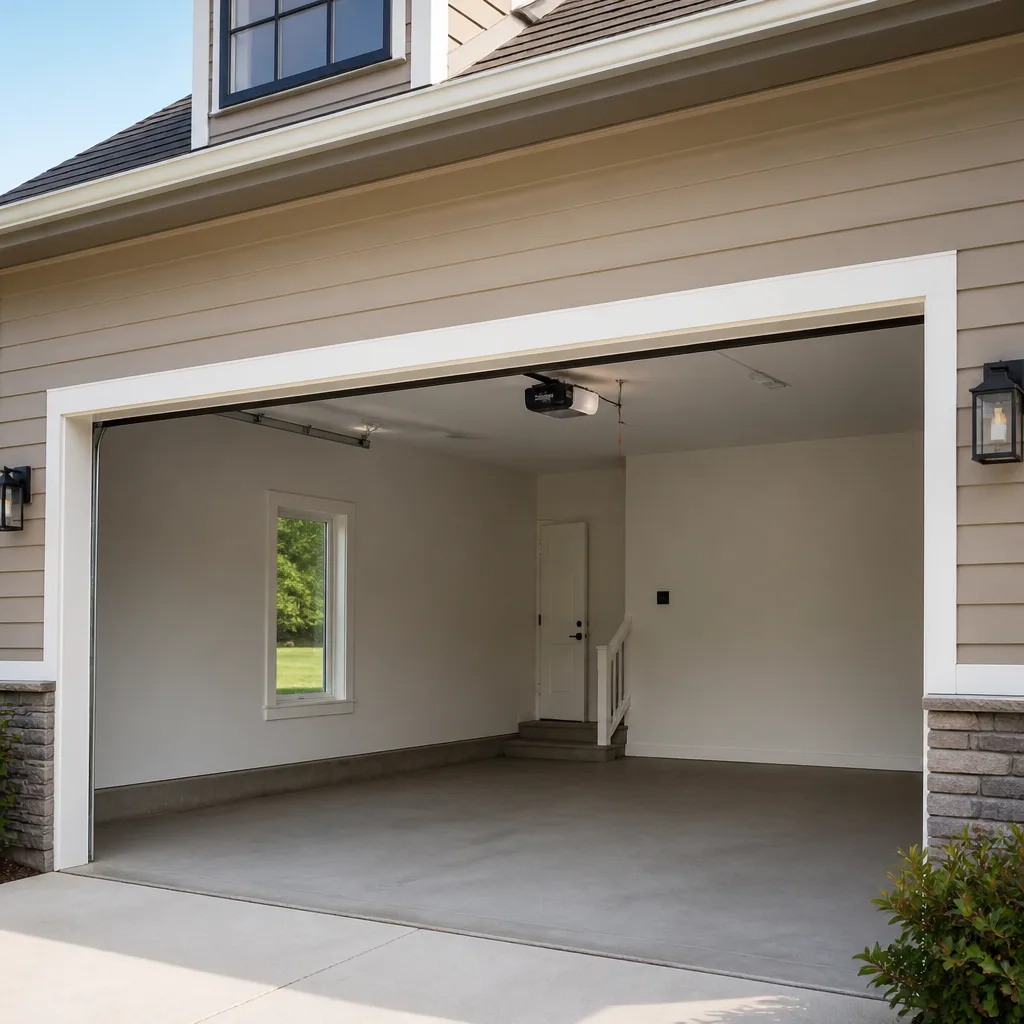 LiftMaster openers
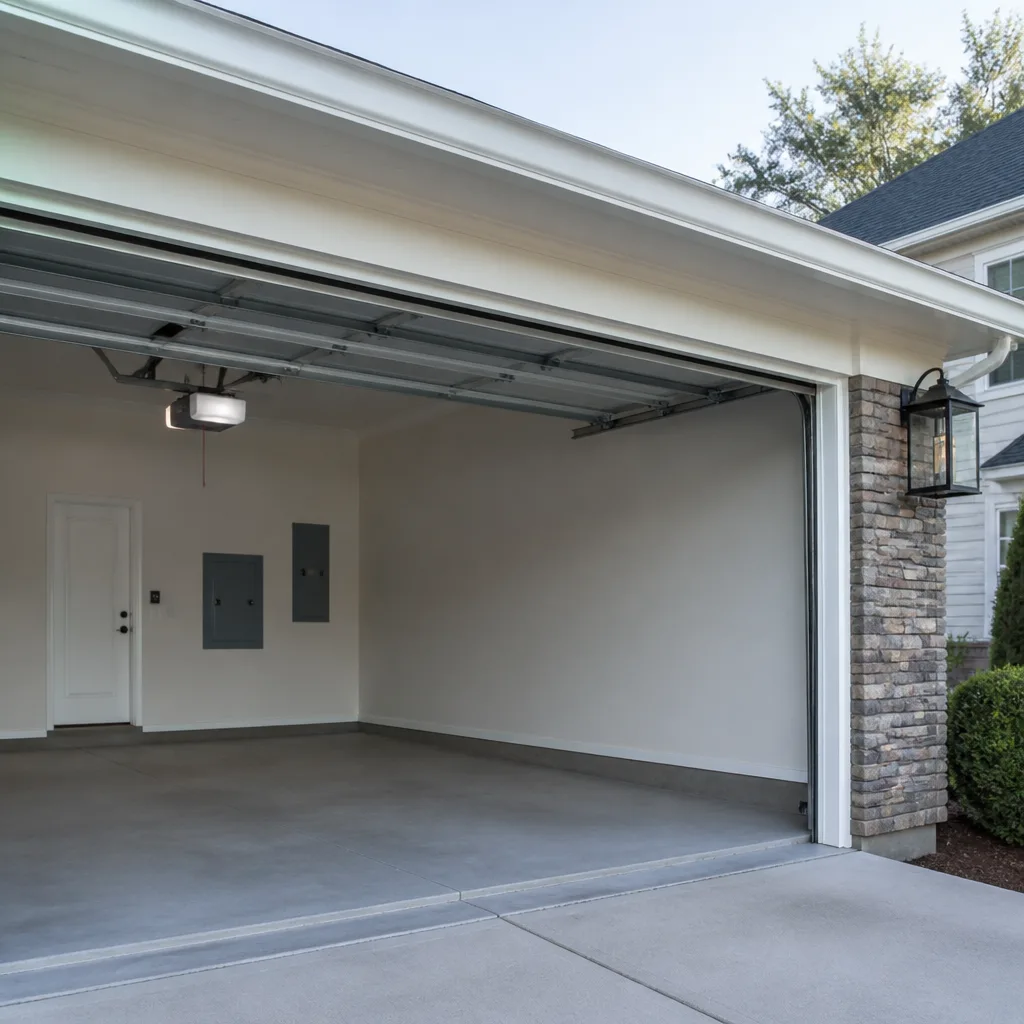 Chamberlain openers
Full 25-point door and opener safety check with every visit - springs, cables, rollers, tracks, and your LiftMaster or Chamberlain opener included
You get a price before we start. It does not change when the pro arrives.
Get your free estimateGarage Door Repair Maintenance Checklist for Hilltop Homeowners
Most maintenance guides tell you to lubricate the springs. That advice is half right, and the wrong half can cost you a spring. Torsion springs sit above the door in a wound, high-tension state, and the wrong product – a sticky spray, a silicone that traps grit, a heavy grease that collects dust – turns the coil into a magnet for debris and moisture. In Hilltop, where winters swing between hard freezes and thaws, that trapped moisture works on the wire while the door sits closed. What follows is a checklist that tells you what to measure, not just what to look at, so you can separate normal wear from a part that’s about to let go.
Quick Answer
A garage door maintenance checklist should be organized by component and by frequency, not once a year on one sheet. Springs and cables need visual inspection monthly and measurement twice a year, rollers and hinges need lubrication every three to four months, weatherstripping needs a check before and after every freeze, and the balance test should be run at the start of each season. If any measurement falls outside the thresholds below – more than a quarter-inch of spring stretch, two or more broken cable strands, a door that won’t hold at the halfway point – stop using the door and have it looked at before something fails under tension.
Styles & brands we work with
- Raised-panel steel
- Carriage house
- Modern flush
- Full-view glass
- LiftMaster openers
- Chamberlain openers
Table of Contents
- Why This Checklist Measures Instead of Guesses
- What to Put on Springs, Rollers, Hinges, and Tracks (And What Never To)
- The Balance Test: Running It and Reading the Numbers
- Cable Fray Thresholds: How Many Broken Strands Before It’s a Liability
- Weatherstripping in Ohio’s Freeze-Thaw Cycle
- The Component-by-Component Frequency Schedule
- Opener Checks: Force Settings, Safety Reverse, and Smart Connections
- Repair or Replace? Reading the Wear Signals
Why This Checklist Measures Instead of Guesses
A visual pass tells you a door is dirty. It doesn’t tell you a spring has lost a quarter of its tension or that a cable has started to unlaying under the protective coating. Those two conditions look identical to a working door from the driveway. The difference is measured, and it’s the measurement that tells you whether you have months of service left or a component that’s about to break.
Hilltop’s housing stock makes this matter more than it would in a mild climate. The freeze-thaw cycles that run from late fall through early spring work on door hardware the same way they work on driveways and foundations: expansion pushes seals apart, contraction pulls them back in a slightly different position, and repeat that a few hundred times and a seal that looked fine in October is a compression failure by March. A checklist that only gets run once a year misses the entire problem window.
What we’ve learned working on doors across Hilltop is that homeowners who measure two things – spring extension and door balance – catch most failures before they become emergencies. Neither measurement takes more than five minutes. Neither requires a tool beyond a tape measure and a bathroom scale. And both give you a number to compare against, which is the whole point.
Everything in this guide assumes one thing about your safety: if a measurement tells you a component is failing under tension, you stop and call. A garage door spring stores enough energy to break bones when it lets go, and the work of replacing it isn’t a homeowner job. The checklist below is built around that boundary, and everything you can safely check is here in detail.
What to Put on Springs, Rollers, Hinges, and Tracks (And What Never To)
The single most common maintenance error on a residential garage door is applying the wrong product to the wrong component. Each part on your door has a different job, and the lubricant that helps one can actively damage another. Here’s what belongs where.
Torsion and extension springs
Torsion springs want a light, dry-film or non-tacky lubricant designed specifically for wound springs. Extension springs, which hang along the sides of the door, take the same. What you never apply is a heavy grease, a chain lubricant with a tackifier, or a spray-on silicone that leaves a slick film – on a spring, slick cuts the friction that keeps the coil stable under load, and tacky collects every bit of grit in the air. A spring in a Hilltop garage sees humidity swings through spring and fall that turn a tacky surface into a grimy one in a matter of weeks. Apply lightly, wipe off excess, and don’t spray at the coils while the door is under tension if you can avoid it.
Rollers and hinges
Steel rollers and hinges take a light machine oil or a garage-door-specific spray. Nylon rollers are different – they generally don’t need lubrication and some manufacturers specify against it, since oil can attract grit to the bearing surfaces. If you’re not sure which roller you have, look at the wheel: white or translucent means nylon, silver means steel. Hinges get a small drop on the pivot points, not a drenching.
Tracks
Tracks should stay dry and clean. Run a damp cloth along the inside of the vertical and horizontal track to clear dust and small debris, then let it dry. Do not oil or grease tracks. Oil on a track collects dirt and turns it into a paste that binds the rollers, and the rollers are supposed to roll, not slide. If a track is bent, don’t attempt to straighten it with a hammer; a kinked track will pull the door out of alignment and the repair is a trained-technician job.
The opener rail and chain
A chain-drive opener takes a chain-specific lubricant, not a multi-purpose spray. A belt-drive opener doesn’t need lubrication on the belt at all. The rail on a screw-drive unit needs its specified lubricant and nothing else. If you don’t know your drive type, this is where a brand-literate technician saves you a mistake – the difference between a Genie chain drive and a Clopay door with a belt drive from a different manufacturer is one glance to someone who works on both.
The Balance Test: Running It and Reading the Numbers
The balance test tells you the state of your spring system without lifting a wrench. It’s the most reliable field test a homeowner can run, and most homeowners have never been shown how to do it. Here’s the procedure and what each result means.
- Close the door completely and disconnect the opener using the manual release pull cord. You’ll hear the trolley click free.
- Lift the door by hand to roughly the halfway point – waist height. Stop and let go.
- A balanced door holds at that point without drifting more than an inch or two in either direction.
- Lift the door to just above shoulder height, let go, and repeat. It should hold there as well.
- If the door sinks on its own, the springs are losing tension. If it rises on its own, the springs are over-tensioned or one has failed with the other doing twice the work.
The numbers that matter: a door that drifts more than four inches from the halfway point is out of balance enough to load the opener motor beyond its design point, and continued use will wear the opener’s gears. A door that drops from the halfway point to the floor on its own is a spring system in failure, and the correct response is to stop using the door and call for a proper evaluation – not to re-tension the springs yourself. Spring tension adjustment is where most serious garage door injuries happen, and it’s a job that should go to someone who does it daily.
Run the balance test at the start of each season, four times a year. On a Hilltop door, the late-spring and early-fall tests are the two that matter most, because that’s when temperature swings put the biggest load difference across the springs.
If the balance test pushes you toward a repair, the next step is a written estimate. Our garage door repair service includes a same-day balance evaluation – call (866) 558-3346 and we’ll price the job before anything is touched.
Cable Fray Thresholds: How Many Broken Strands Before It’s a Liability
A garage door cable is a bundle of steel strands wound together, and it fails one strand at a time. The industry threshold for replacement is two broken strands in a single lay length. Below that, you’re in the inspection zone. At two or more, the cable is a liability and should be replaced before the door is used again.
Here’s how to inspect a cable properly without putting your hands near it:
- With the door closed, look at both lift cables where they run from the bottom bracket up the side of the door and around the drum. These are the cables that carry the door’s weight.
- Look for the “birdcage” pattern – a section where the strand wind has opened up and individual wires are separated. That’s the early stage of failure.
- Look for visible broken wire ends poking out of the wind. Count them along the section between the bottom bracket and the drum.
- Inspect the drum end of the cable for a lifting wrap or a cable that has jumped the drum groove. Either condition means the door needs a professional look.
- Never touch a cable under tension to test it. The cable is a tension member, and a hand on a live cable can be pulled in if the wire snaps.
Two broken strands means the cable is at or past the replacement threshold. One broken strand is a warning: it will fail, and the only question is when. A garage-door cable that lets go under load can whip and cause serious injury, and the standard practice is to replace both cables together when one is at the threshold, since they’ve lived the same life.
What to look for specifically in Hilltop: cables on the south and west-facing side of a detached garage take more heat contraction in summer and more freeze-thaw stress in winter, and that cycle works the strand wind slowly. Check both cables at every monthly inspection, and don’t skip the drum end.
Weatherstripping in Ohio’s Freeze-Thaw Cycle
Weatherstripping fails in two distinct ways, and they look almost the same to a homeowner. Compression failure means the seal has lost its spring and no longer presses against the door. Cracking means the material itself is splitting. Both leak air and water, but the repair differs, and the seal location matters more than most guides admit.
The three seal locations and which one matters most
- Bottom seal (the astragal): The thick rubber or vinyl strip that runs across the bottom of the door. This is the seal that takes the most abuse from freeze-thaw, since it presses against a concrete slab that heaves and settles. This is the most important seal in an Ohio garage. A gap here lets in meltwater that refreezes overnight and pries the seal further from the door.
- Perimeter stops (jambs and header): The stops along the sides and top. Look for daylight gaps and for seal material that has hardened and no longer presses evenly against the door face.
- Threshold / floor seal: The strip on the floor at the door base. If it’s cracked or missing, water moves under the door with the first thaw.
How to tell cracking from compression failure
Run your hand along the bottom seal with the door closed. A compression failure feels flat and hard – the material doesn’t bounce back when you press it. Cracking shows as visible splits, usually at the edges where the seal meets the door panel, and often appears first at the corners. If the seal is flat and hard but whole, you’re looking at compression failure. If there are visible splits, you’re looking at cracking. Both need replacement, but cracking calls for a new seal sooner, since water gets into the split and works it wider with every freeze.
Inspect the bottom seal before the first hard freeze in late fall and again after the spring thaw. The perimeter stops need a check twice a year – late fall and early summer. If the bottom seal is failing at the end of fall, replace it before winter rather than waiting for spring.
The Component-by-Component Frequency Schedule
A single annual checklist misses most of what goes wrong on a garage door. The parts on your door fail at different rates, and the only way to catch each one before it fails is to match the inspection to the component. Here’s the schedule we use, and it’s the one worth putting on the wall of your garage.
Monthly
- Visual inspection of both torsion springs for gaps, rust, or visible separation in the coil.
- Visual inspection of both lift cables, including the drum end. Count broken strands.
- Listen for new noises on open and close – grinding, popping, scraping, or a door that bangs at the end of travel. New noise is the earliest tune-up signal there is.
- Clear the safety eye line of debris and confirm the reversing test with a trip of the safety eye.
Every three to four months
- Lubricate steel rollers, hinges, and torsion or extension springs with the correct products above.
- Wipe down the tracks and inspect them for bends, dents, or looseness at the mounting bolts.
- Check the fasteners at the hinges and brackets – vibration from daily use loosens them slowly, and a torque wrench or a socket set takes ten minutes.
- Run the balance test.
Twice a year (before winter and after thaw)
- Full weatherstripping inspection – bottom seal, sides, top, floor strip.
- Opener force and travel adjustment check. The door should reverse on contact with a low-profile object on the floor, per the opener’s instructions.
- Cable stranding count re-checked on both sides.
- Door panel inspection for dents, cracking, and the beginning of section-joint separation.
Annually
- Full balance test with the door weight compared against a scale reading from the bottom bracket – a spring system that has lost a measurable percentage of its design lift is closer to failure than a spring that hasn’t.
- Stripped-and-replaced inspection of the mounts, drum set screws, and roller brackets, in the shop or on the door if a bracket is loose.
- Call for a professional service if any of the component measurements above are at or over threshold, and hold the door offline if it fails the balance test.
For Hilltop, add one more line to the winter check: after the first hard freeze, look at the base of the door every week through the thaw. That’s when the bottom seal’s condition shows.
If you’d rather have someone run the whole schedule on your door rather than chase it down yourself, that’s a repair visit. Our garage door repair service includes a full-inspection visit – free estimate, written price before any work starts. Call (866) 558-3346.
Opener Checks: Force Settings, Safety Reverse, and Smart Connections
The opener is the part of your door that fails first in most homes, and the part most likely to be misdiagnosed. A door that won’t close might have a failed opener, a bad safety eye, a stripped gear, or a door so out of balance that the opener is being asked to lift more than its spec. The checklist below tells you which one you have.
The three checks that point to a specific problem
- Safety reverse test. With the door open, lay a piece of wood or a brick on the floor in the door’s path. Close the door. It should reverse on contact. If it doesn’t, the opener’s force setting or the safety eye is the cause, and the door should not be used until it’s corrected.
- Safety eye test. With the door closing, wave an arm across the eye line. The door should reverse. If the door doesn’t reverse, the eye is blocked or failing – check the LED on each eye and clear any debris or cobwebs.
- Force test. With the door disconnected from the opener, lift it by hand through the full travel. If it’s heavy or binds, the problem is the door, not the opener. If it moves easily by hand, the opener’s force setting or drive is the cause.
On a modern smart-integrated unit from LiftMaster or Chamberlain, a “door won’t close” message is sometimes a connectivity fault rather than a mechanical one. If the opener’s app won’t sync or the wall control shows an error, check the Wi-Fi connection and the opener’s firmware before assuming a mechanical failure. On older Genie and Craftsman units, the most common cause of a door that starts and stops partway is a worn drive gear, and that’s a parts-and-labor job rather than an adjustment.
If you’re not sure which generation of opener you have, that’s the entire value of a technician who works on the brand already in your garage. Our garage door opener repair visit covers force settings, safety reverse, drive inspection, and smart-connection diagnostics in one trip. Call (866) 558-3346 and tell us the brand and model – we’ll have the right parts on hand, not on order.
Repair or Replace? Reading the Wear Signals
Once you’ve measured your door for a season or two, you’ll start to see a pattern: one component fails, you replace it, and a few months later the next one is at the end of its life. That’s the signal to think about replacement, not another patch. The repairs themselves are the measurement.
The wear signals to watch for:
- Two or more major component failures (springs, opener, cables, or bottom bracket) in a single season. That’s a door system in end-of-life, not a series of unrelated failures.
- Panel damage that includes cracking at the section joints rather than only surface dents. Cracking at the joints is a structural issue, and a door that’s structurally compromised is a replacement candidate even if the hardware is fine.
- A balance test that passes after a repair and then fails again within a few months. A door that will not stay in balance is a spring system at the end of its design life.
- An opener that’s on its second drive gear or its second logic board. The electronics and the mechanicals usually fail at about the same rate, and repairing both when the door is 15-20 years old is a poor return.
- Weatherstripping that has been replaced twice in one year. That’s the door fatiguing its own seals because the door is out of alignment, and alignment is a door problem, not a seal problem.
When replacement is the right answer, it’s a measured job, not a same-day one. The right sequence is to choose the door (a Clopay or Amarr door both come in a range of panel styles and insulation values), get a free measure of the opening, and get a written price before the order goes in. Our garage door installation service covers the measurement, brand selection, and installation on one schedule, and we order the door against the actual opening, not a catalog size. If you’ve got a Wayne Dalton door that’s been out of production since before you bought the house, that’s exactly the case where a measured replacement beats chasing parts.
Common Mistakes to Avoid
- Spraying the tracks with lubricant. It’s the error we see most often. A greased track turns dust into a paste that binds the rollers and slowly wears the door’s travel. Wipe the tracks clean and leave them dry, and lubricate the rollers and hinges instead.
- Using a heavy grease on torsion springs. The heavy grease collects grit, traps moisture, and works against the spring’s own coil friction. Use a light non-tacky product designed for springs, and wipe off the excess.
- Forcing a failing door to keep running. If the door fails the balance test or a cable shows two broken strands, every open-and-close cycle is a wear cycle on an already-failing component. Stop using the door until it’s repaired.
- Adjusting spring tension yourself. A torsion spring is under enough stored energy to cause serious injury if it slips, and the correct adjustment is a technician job. Measure the spring, don’t re-tension it.
- Waiting until a spring breaks to replace the pair. Springs are matched at installation and wear at the same rate. Replacing one when it breaks leaves the other at the end of its life and the door out of balance. Replace the pair together.
- Skipping the weatherstripping check because it “looks fine.” A compression failure doesn’t look wrong to the eye. It looks flat, and flat is the failure. Run your hand along the bottom seal and check the bounce before winter.
- Assuming the opener is the problem when the door is binding. A door that binds or is out of balance will wear out any opener eventually. Fix the door first, then evaluate the opener.
See the difference
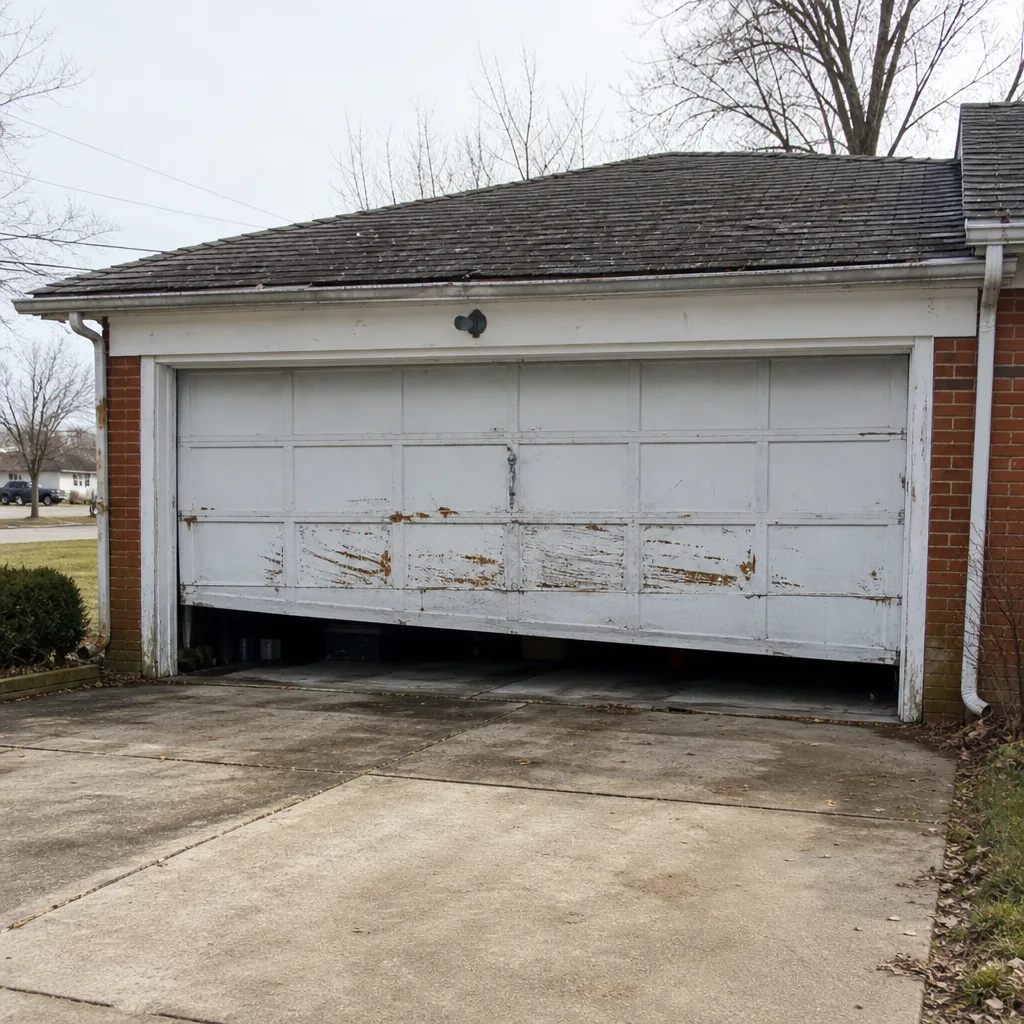 Before
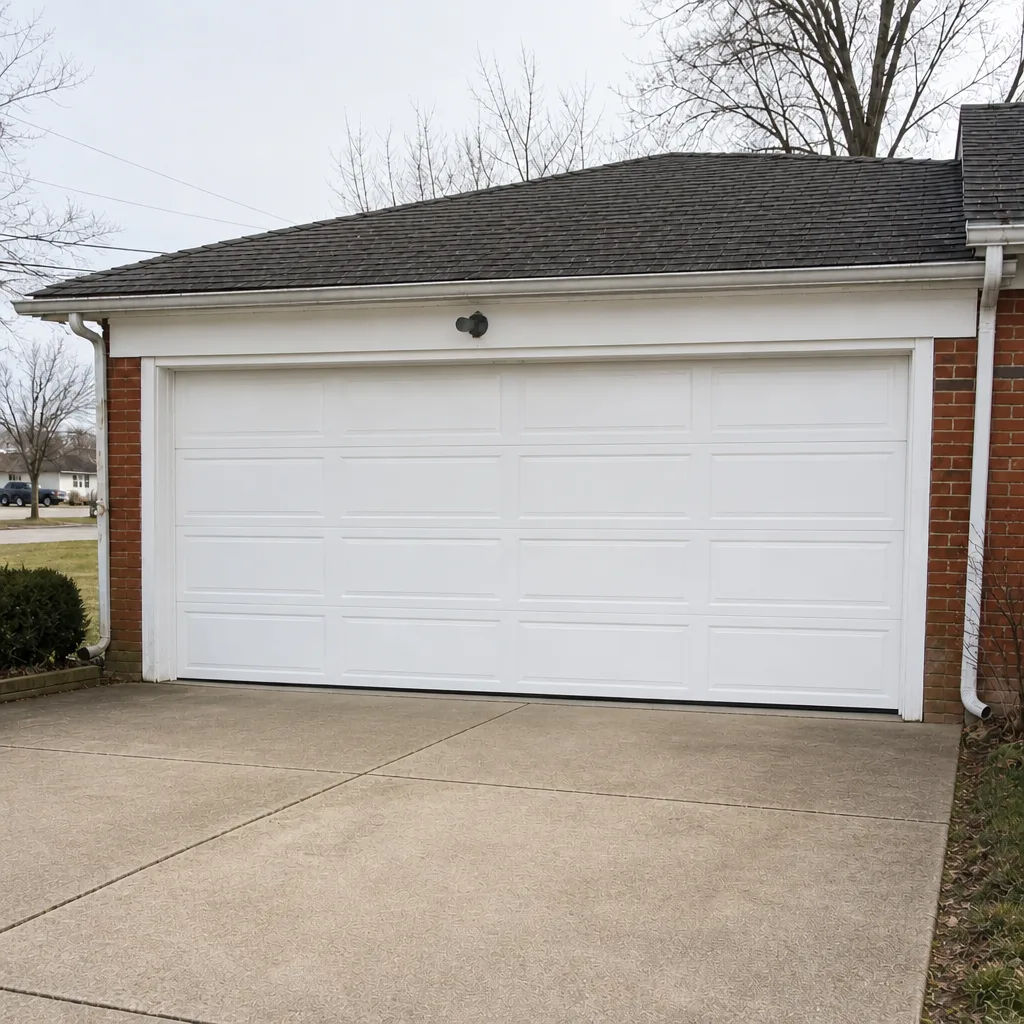 After
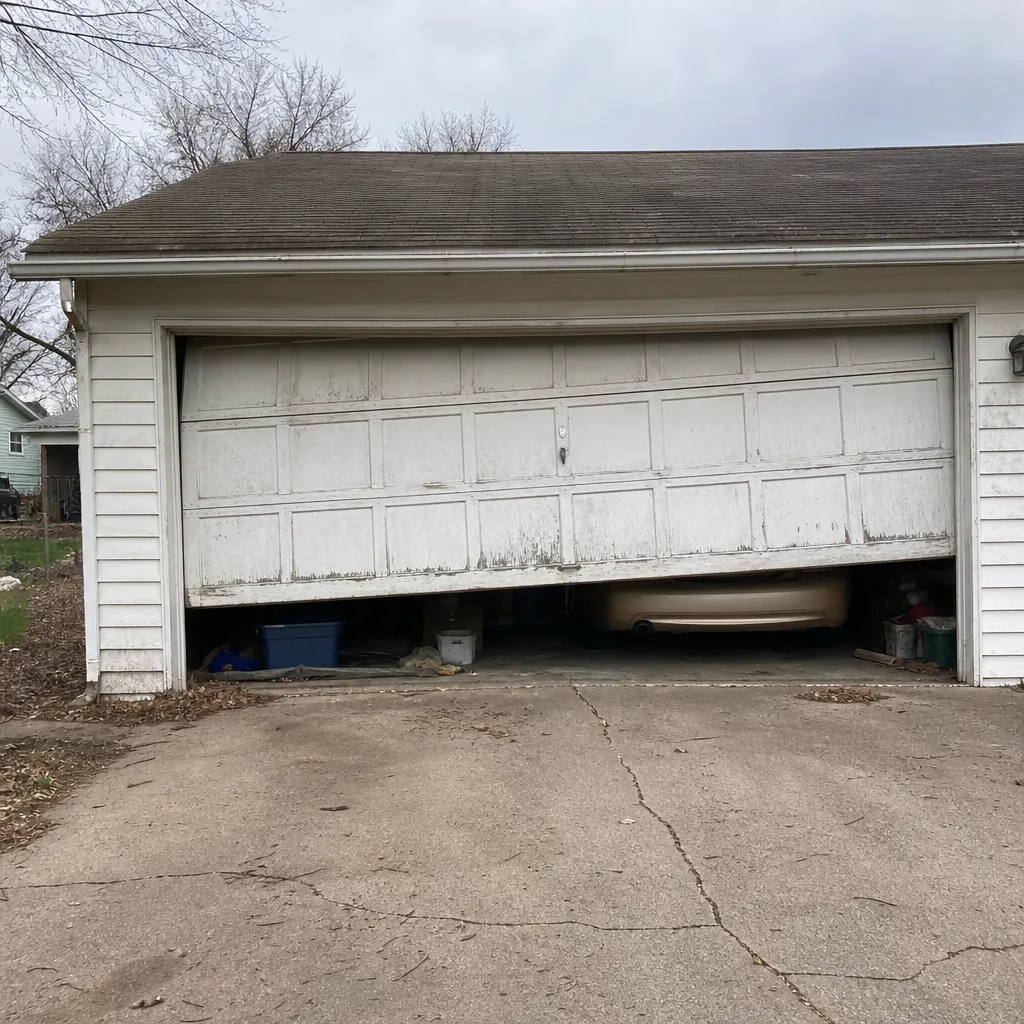 Before
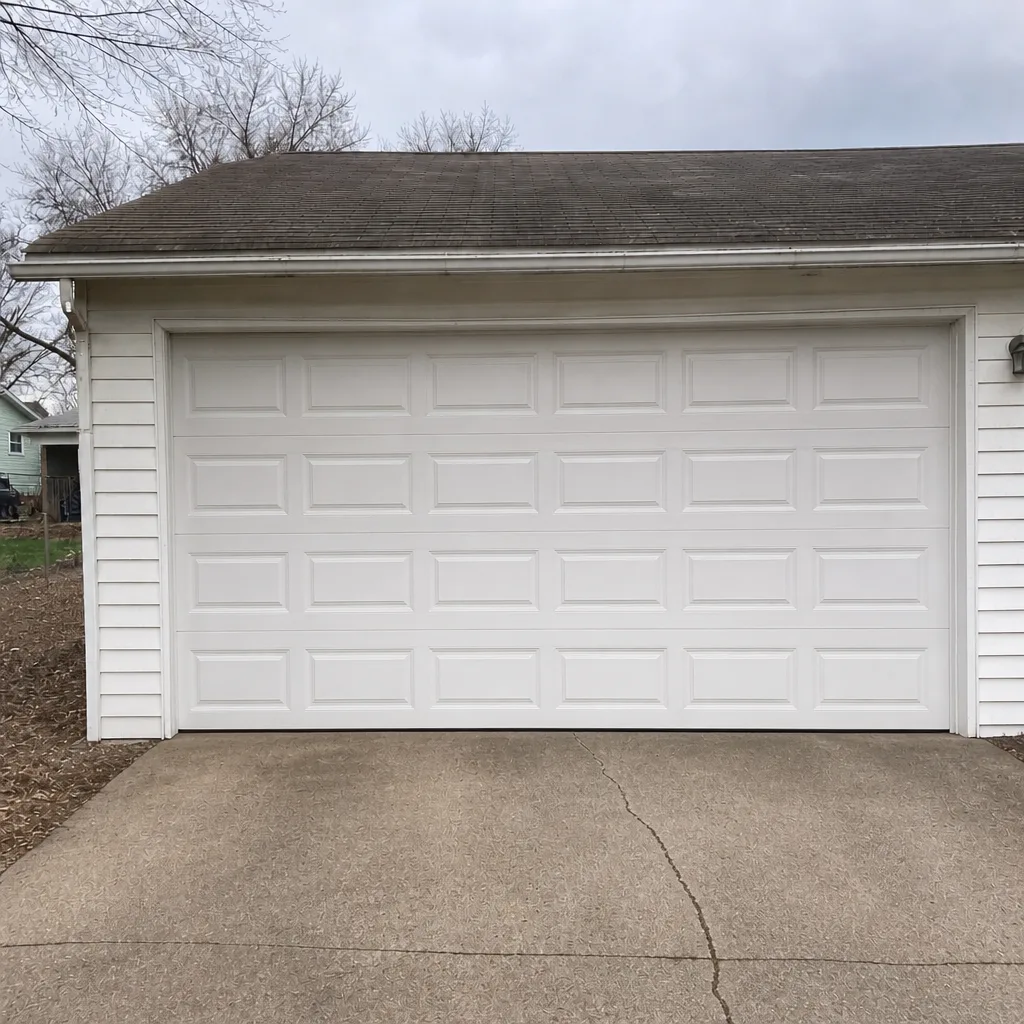 After
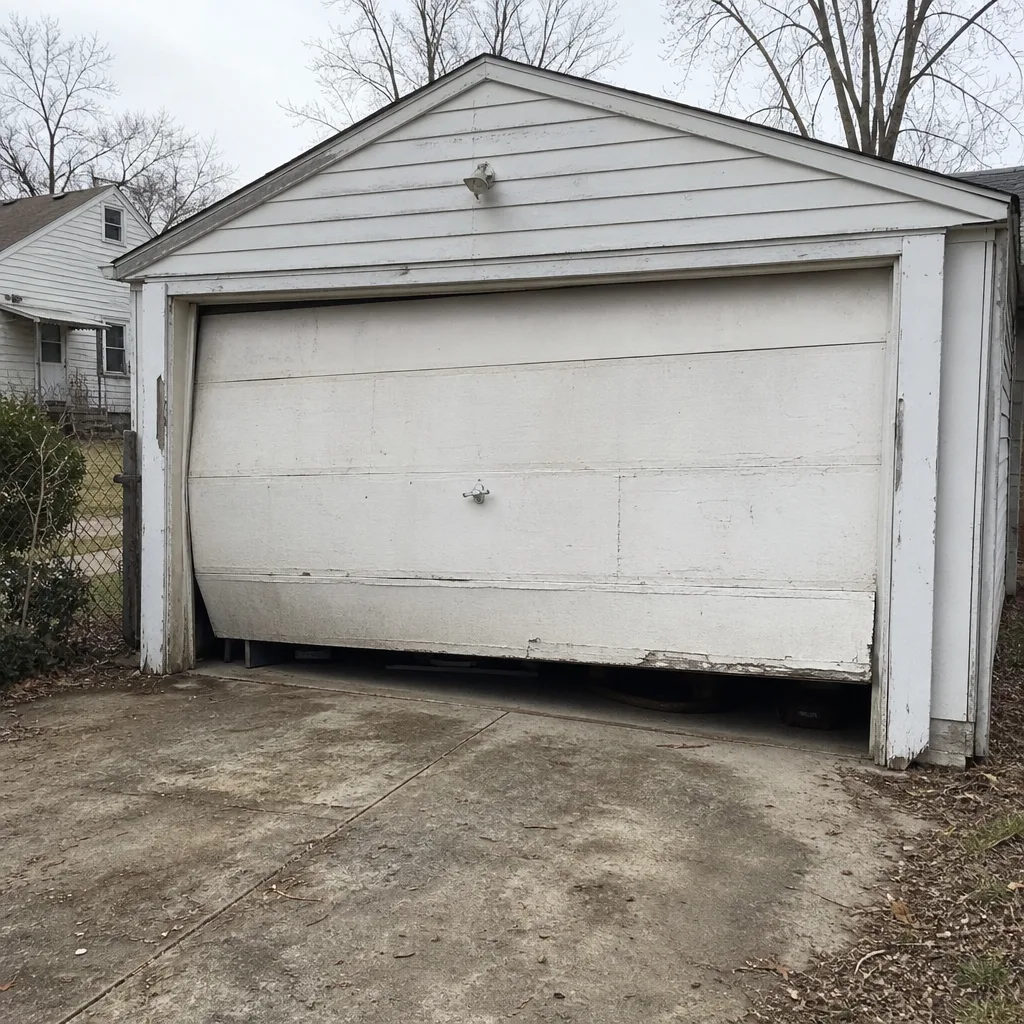 Before
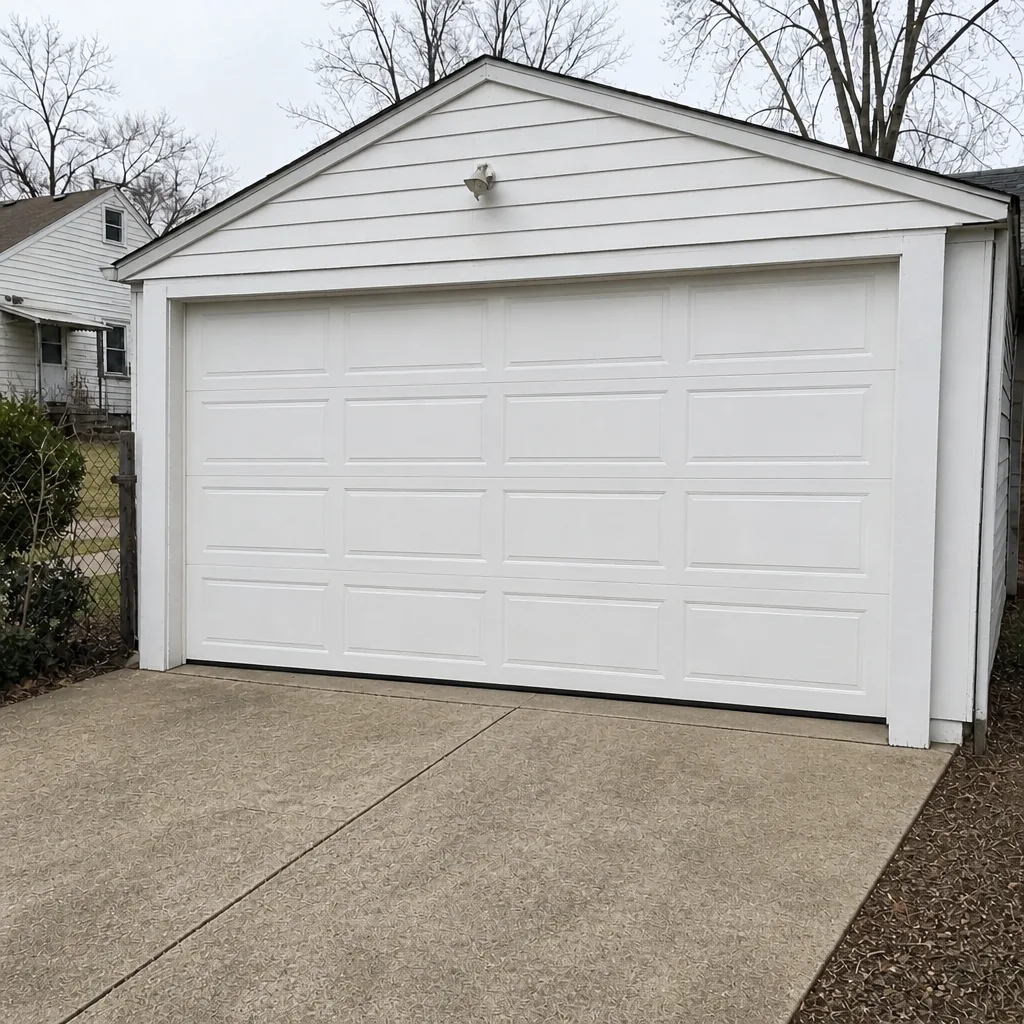 After
When to Call a Professional
Call a professional when any of five things happen. First, the door fails the balance test – it drops or rises from the halfway point and won’t hold. Second, a cable shows two or more broken strands anywhere along its length. Third, a torsion spring has a visible gap, a bright rust patch, or the coil is separating. Fourth, the safety reverse test fails and the door won’t reverse on contact. Fifth, you hear a new noise on open-and-close that wasn’t there last month. Each of these is a component at or past its service life, and each is a crash risk in the garage if ignored. Our technicians have up to 8 years of experience on the brand already in your garage, and we work on the five core services: repair, opener repair, spring repair, installation, and direct parts supply – all in-house, no subcontracting.
Garage Door Repair Hilltop offers free estimates in Hilltop – call (866) 558-3346. We answer 24/7, with fast dispatch from 7am to 7pm, Sunday through Friday. Same-day service on repairs is available. The written estimate sets the price, and we agree it with you before any work starts.
Frequently Asked Questions
Run the balance test four times a year, at the start of each season. In Hilltop, the late-spring and early-fall tests matter most because those are the points where temperature swings put the biggest load change across the springs. A door that holds at the halfway point is balanced; a door that drifts more than four inches is due for a spring evaluation. If you’d rather have someone walk the balance test with you, call (866) 558-3346 – estimates are free.
You can lubricate the springs yourself as long as you stay on the exterior of the coil and use a light, non-tacky product – never a heavy grease or a chain lubricant. The part you should not do is adjust spring tension, which is a different job and carries real injury risk. If the spring has a gap or a rust patch, don’t lubricate it – have it inspected. Call (866) 558-3346 for a free spring evaluation.
Two broken strands in a single lay length is the replacement threshold for a garage door cable. One broken strand is a warning; two is a liability. Replace both cables together when one is at threshold, since they’ve lived the same life and the second is usually close behind. If you’re not sure what you’re looking at, call us at (866) 558-3346 and we’ll price the cable replacement on the spot.
Steel rollers and hinges take a light machine oil or a garage-door-specific spray. Nylon rollers usually don’t need lubrication, and some manufacturers specify against it, so check whether your rollers are steel (silver) or nylon (white or translucent) before you spray anything. Tracks should stay dry. If you’d rather not guess, call (866) 558-3346 and we’ll tell you what your door takes.
You’re likely looking at compression failure, not cracking. A compression-failed seal looks visually fine but no longer presses against the door, so air moves through the gap. Run your hand along the bottom seal and press it – if it’s flat and hard and doesn’t bounce back, it’s a compression failure and needs replacement. The bottom seal is the location that matters most in Ohio, since it’s the one that sees the most freeze-thaw. Call (866) 558-3346 and we’ll measure and quote the replacement.
Yes. A torsion spring is under enough stored energy to cause serious injury if it slips during removal or adjustment, and the correct procedure is a technician job. Springs are also matched at installation and should be replaced as a pair, which is a job priced as one.
We work on the eight most widely installed residential brands – LiftMaster, Chamberlain, Genie, Clopay, Amarr, Wayne Dalton, Craftsman, and Raynor – so we arrive already familiar with the opener and door already in your garage. Whether it’s a Genie opener paired with an Amarr door or a Wayne Dalton door with a Craftsman opener, we know the tolerances. Call (866) 558-3346 and tell us the brand.
The Bottom Line
A garage door maintenance checklist is worth the paper it’s on only when it tells you what to measure against. The balance test four times a year, cable strand counts monthly, bottom seal checks before and after every freeze, and correct lubrication on the right components catch the failures that matter most before they become emergencies. The parts you can safely maintain – rollers, hinges, tracks, seals – are the ones to keep on schedule. The parts you should never touch under tension – springs and cables at threshold – are the ones to hand to a technician. Start with the balance test this week, and if it fails, call for a free estimate before the door gets used again. If you’re in Hilltop and would rather have a full inspection done on the spot, our Garage Door Repair Hilltop team is ready to help – call (866) 558-3346.
Written by the team at Garage Door Repair Hilltop.