
Last updated November 21, 2026
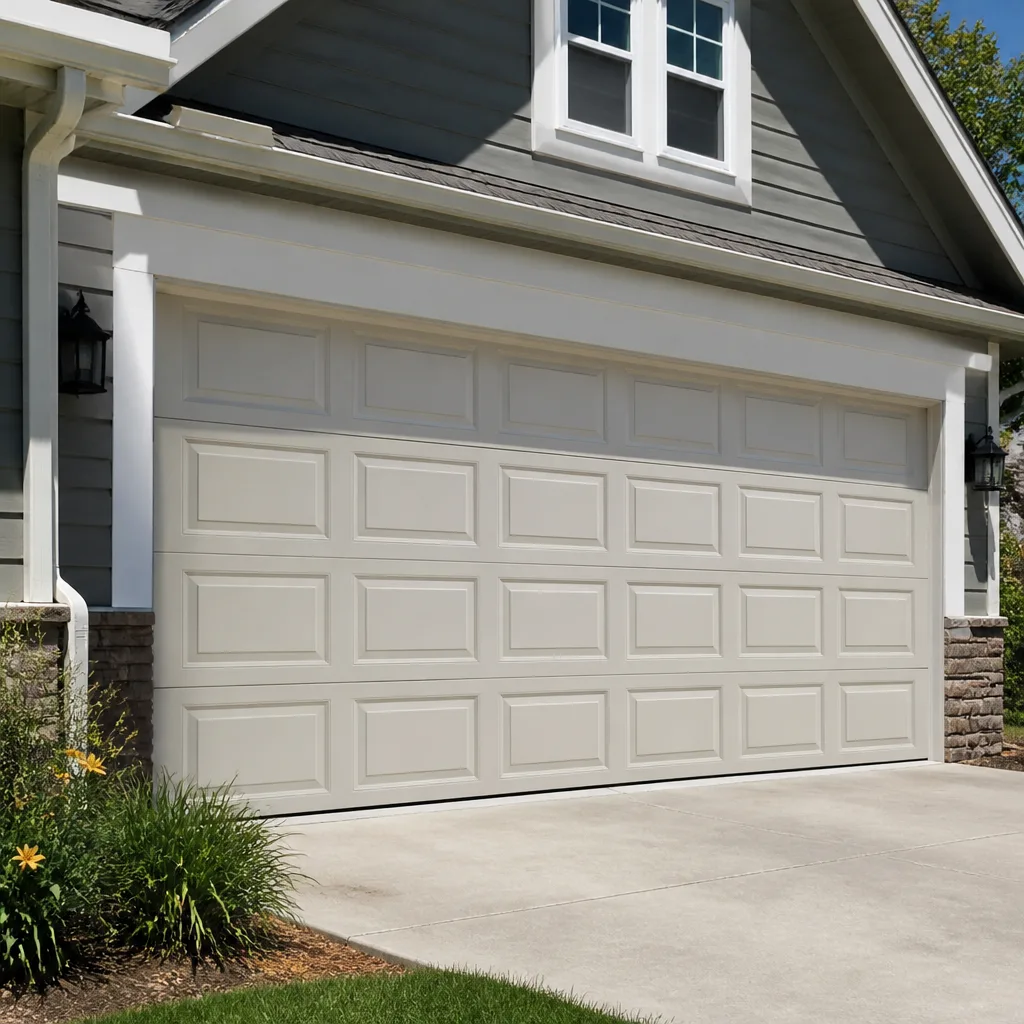 Raised-panel steel
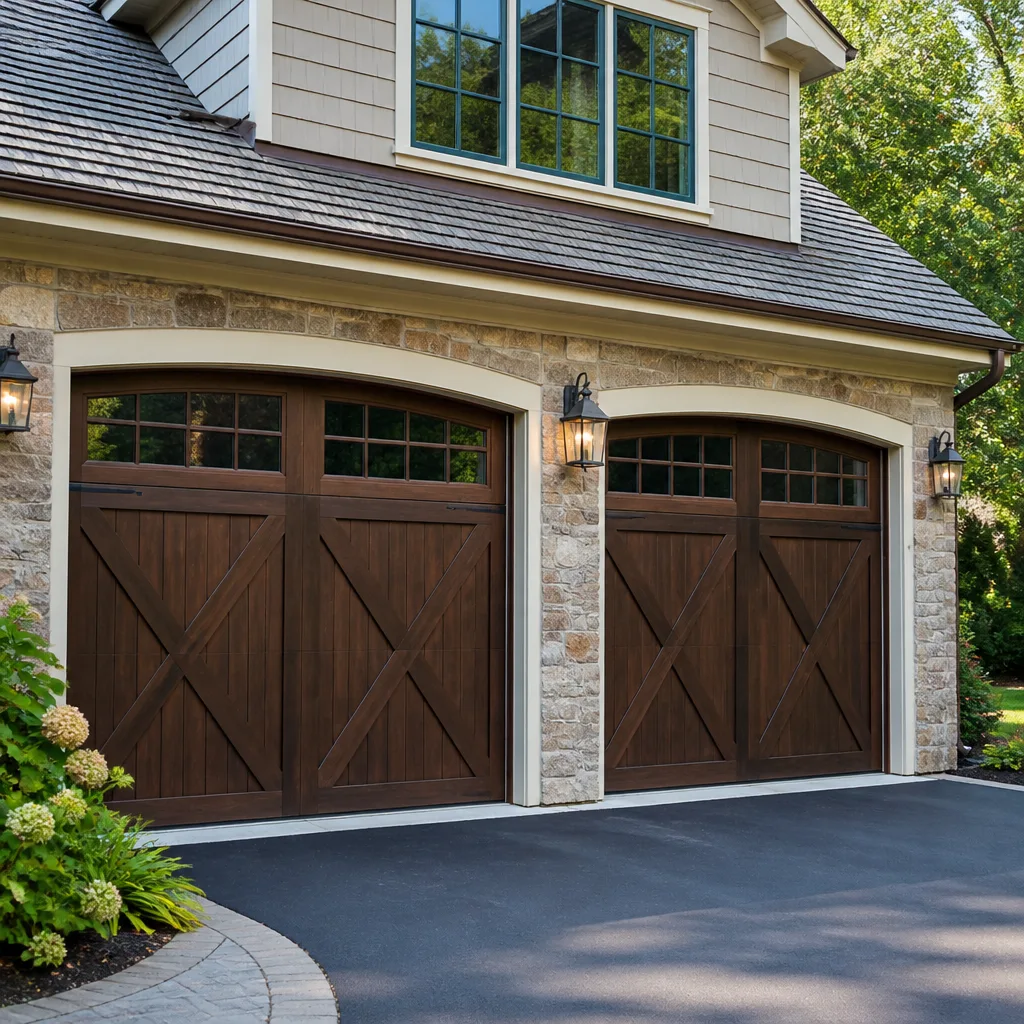 Carriage house
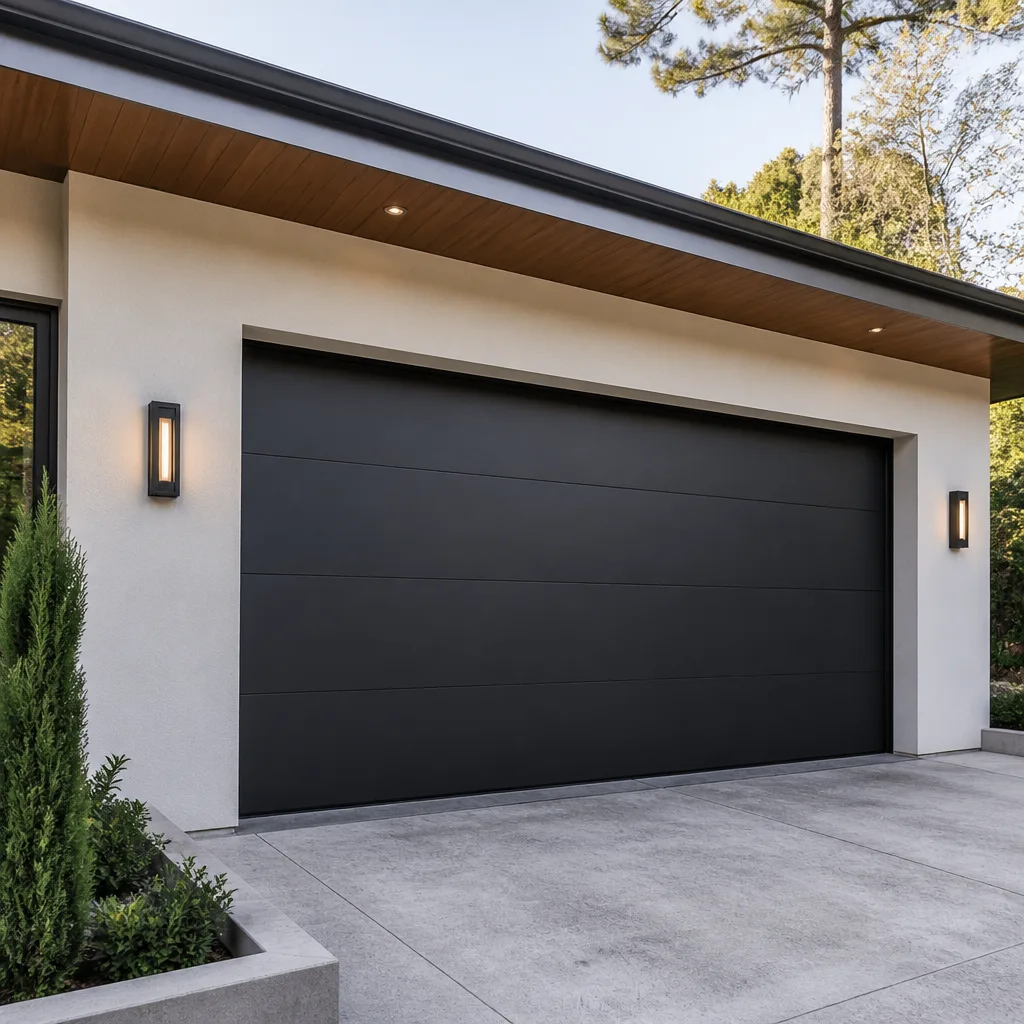 Modern flush
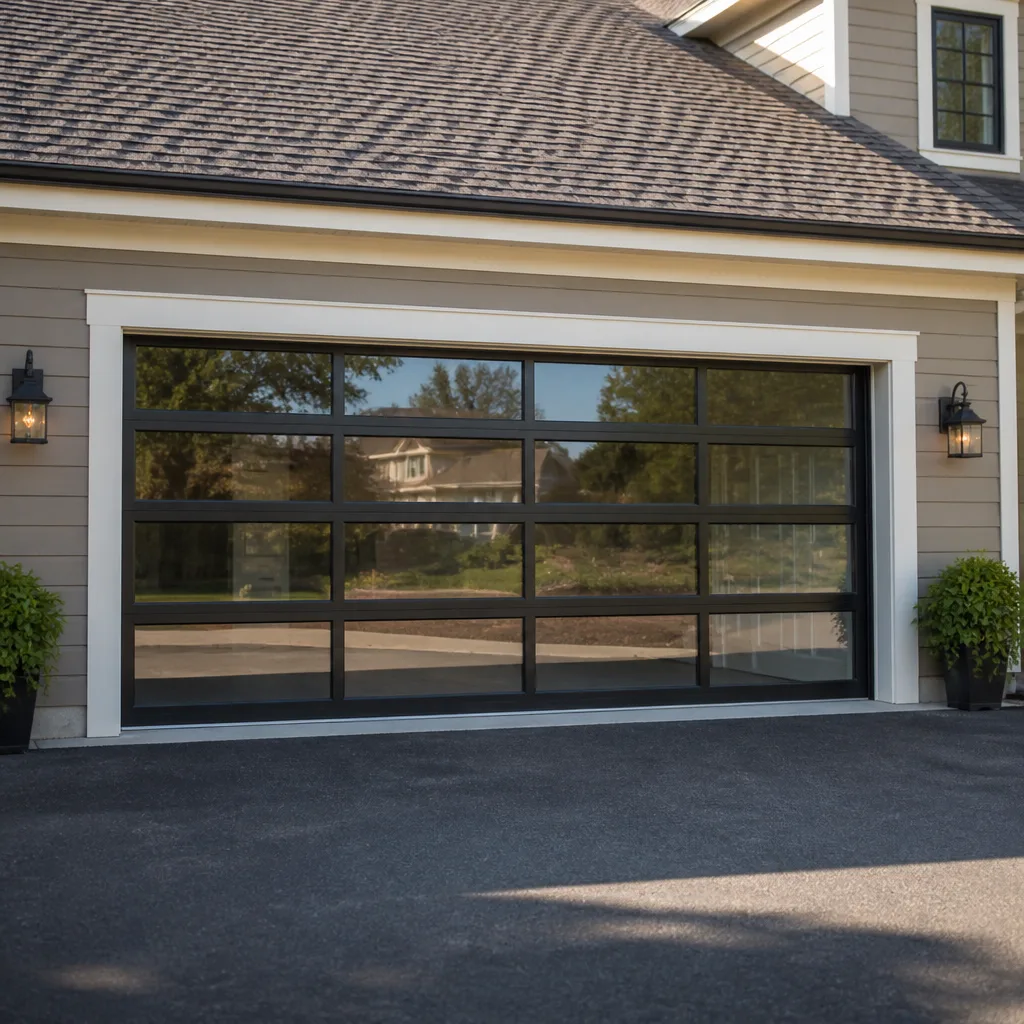 Full-view glass
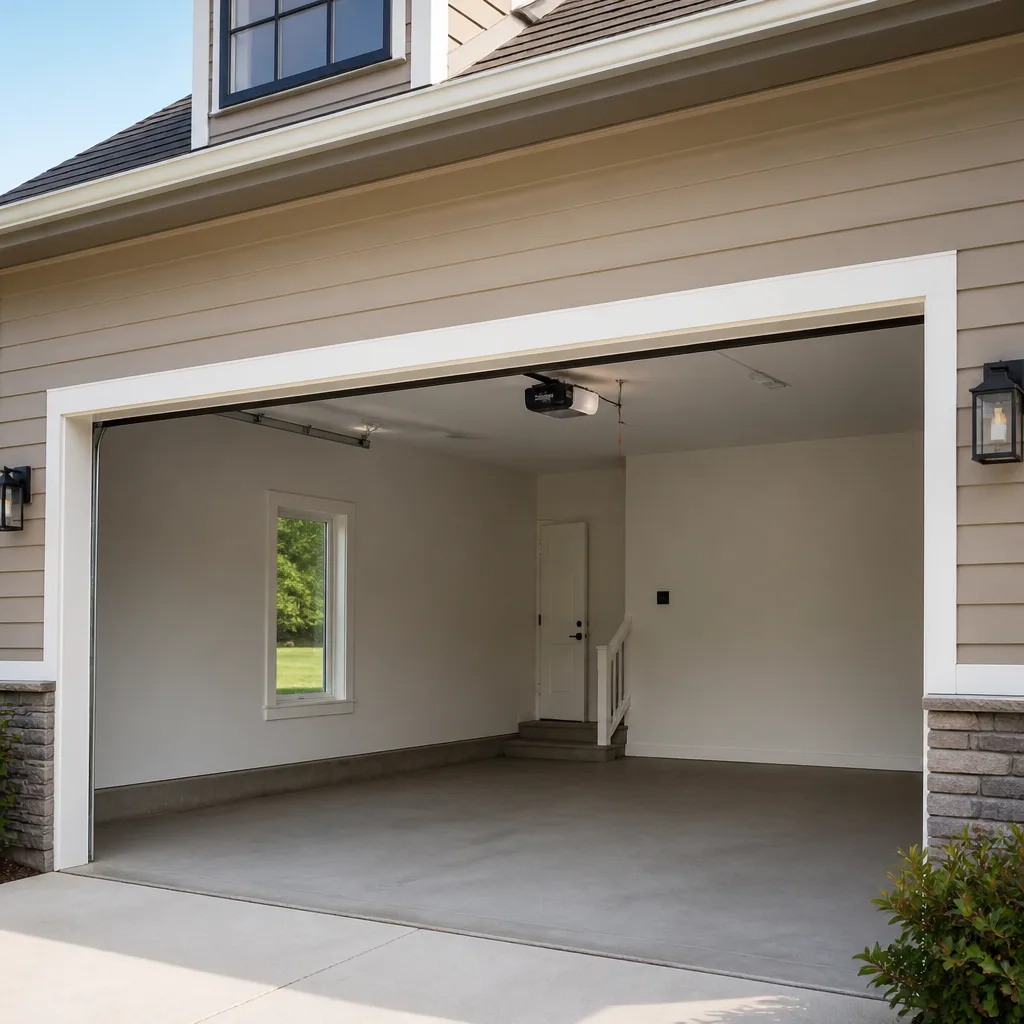 LiftMaster openers
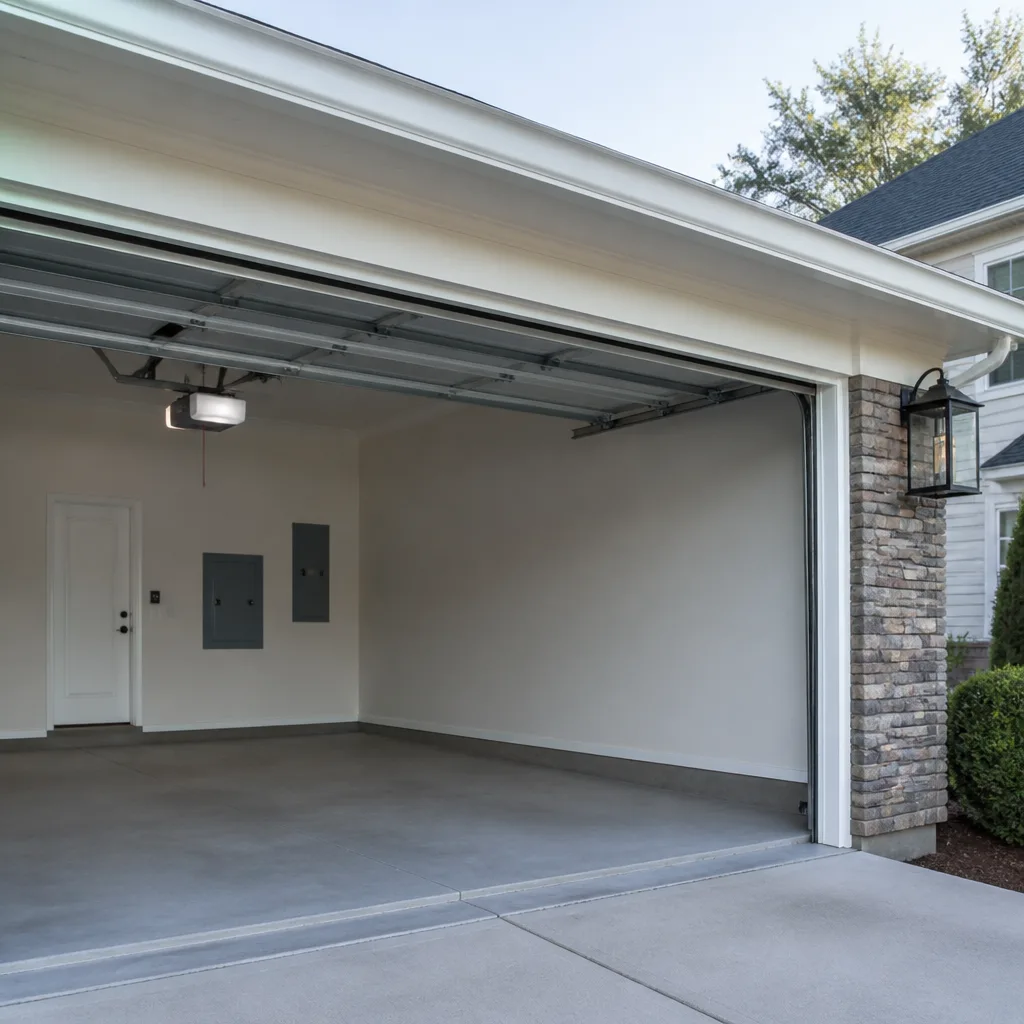 Chamberlain openers
Full 25-point door and opener safety check with every visit - springs, cables, rollers, tracks, and your LiftMaster or Chamberlain opener included
You get a price before we start. It does not change when the pro arrives.
Get your free estimateDIY vs Professional Garage Door: The Hilltop Homeowner’s Decision Guide
Most garage door advice online treats DIY-versus-professional as a question of confidence. It isn’t. A torsion spring stores enough mechanical energy that an uncontrolled release can cause a serious injury, and that’s not a liability disclaimer tacked onto a product page, it’s the physics of a wound steel coil holding hundreds of pounds of door weight under tension. Yet spring replacement is one of the most-watched garage door tasks on video platforms, which is why we see the same predictable outcomes in Hilltop. This guide draws the line honestly: which jobs are genuinely safe to handle yourself, which ones put your hands and your door at risk, and how to diagnose the problem before you call anyone so you’re paying for a repair and not a diagnosis.
Quick Answer
You can safely handle weatherstripping, lubrication, safety-sensor alignment, remote programming, and visual inspections yourself. You should not touch torsion springs, cables, or track adjustment under tension, because those parts store energy that can injure you without warning and require tools most homeowners don’t own. For everything in that second group, a professional is the cheaper and safer path, and in Hilltop the estimate costs you nothing to find out.
Styles & brands we work with
- Raised-panel steel
- Carriage house
- Modern flush
- Full-view glass
- LiftMaster openers
- Chamberlain openers
Table of Contents
- What’s genuinely DIY-safe on a garage door?
- Why torsion springs sit in a different risk category
- The tool cost reality check
- How to diagnose the problem yourself before you call
- Cables, tracks, and panels: where DIY goes wrong
- Opener problems you can troubleshoot yourself
- What “I’ll just watch some videos” actually costs
- Hilltop conditions that change the calculation
What’s genuinely DIY-safe on a garage door?
Weatherstripping, lubrication, sensor alignment, remote programming, and a visual once-over are all reasonable for a careful homeowner. Nothing in that group stores energy or holds the door’s weight, so a mistake costs you a strip of rubber or a twenty-minute reset, not a hospital visit. In our experience, these five tasks account for a meaningful share of the calls we get in Hilltop that didn’t need to be calls at all.
Here’s the safe list, and what each job involves:
- Weatherstripping and bottom seals. If you can see daylight under the door or hear wind whistling along the floor line, the bottom seal is worn. It slides into a channel or nails to the frame, and replacement takes an hour with basic hand tools.
- Lubrication. Hinges, rollers, and the torsion bar’s bearing plates take a garage-door-specific lubricant, not WD-40. Twice a year keeps a door quiet and slows wear on the moving parts.
- Safety-sensor alignment. The two small lenses near the floor need to face each other and stay clear of cobwebs and stored items. A door that reverses on the way down usually has a sensor problem, not a motor problem.
- Remote and keypad programming. Whether it’s a LiftMaster, a Chamberlain, or a Craftsman unit, pairing a new remote is a button sequence you can run from the manual. It takes minutes.
- Visual inspection. With the door closed, look at the springs for gaps or a visible break, check that cables sit in their drums, and glance at the rollers for flat spots. This takes five minutes and tells you a lot.
One caution even on the safe list: never put your hands near the spring system or the cables while inspecting, and never run the door while you’re standing under it. Look with your eyes, not your fingers.
Why torsion springs sit in a different risk category
Torsion springs and extension springs both store energy, but they store it differently, and that difference matters enormously if you’re following a generic tutorial. A torsion spring is mounted horizontally above the door on a steel shaft, wound tight, and held by set screws. An extension spring stretches along a track at the sides. The energy in a torsion spring is released rotationally, which means it can spin a winding bar out of your hand faster than you can react.
Here’s why the distinction matters:
- Torsion springs load two winding bars at once. You wind them in quarter turns, alternating sides, keeping the bars seated in the winding cones. If one slips out while the other is still holding load, the spring unwinds with the force of the door’s full weight behind it.
- Extension springs have a containment requirement. Safety cables run through the middle of the spring so that if it breaks, the spring stays on the cable instead of flying. Many older doors in Hilltop are missing those cables, which is a visual check worth doing.
- The two are not interchangeable in tutorials. A video for an extension spring walks through a job that is still risky but structurally different. Following it on a torsion system is how people get hurt, because the steps and the tools don’t transfer.
- Improperly wound springs fail early. Even when a DIY spring swap doesn’t injure anyone, a spring wound to the wrong tension wears out much faster or leaves the door unbalanced, which then strains the opener.
Our technicians have up to 8 years of experience, and spring work is a named service for us rather than something we hand off. That’s deliberate. If you’re going to have anyone near a torsion spring, it should be someone who has done it enough times to know what a loaded winding cone feels like. If you want the full picture on the mechanical side, our page on garage door repair covers how spring, cable, and track failures tend to show up.
The tool cost reality check
Winding bars are the clearest example. They’re solid steel rods sized to fit the winding cone, and they are not the same as screwdrivers or pry bars. Using the wrong tool on a torsion spring is one of the most common ways a DIY spring job goes badly, and a pair of proper bars costs real money for a job you’ll do once. That’s before you consider what else a spring replacement needs.
The tool list for a torsion spring job typically includes:
- Winding bars sized to the cone, in pairs, because the job requires two at once.
- A cable tension gauge if you’re setting cable tension on a door where the cables have also been disturbed.
- Torque specifications for the set screws and lag bolts, which vary by door and by manufacturer. A Wayne Dalton door and an Amarr door don’t share the same numbers.
- A proper ladder and a second person for anything overhead, because you can’t hold a door and wind a spring at the same time.
Add that up and the professional option often costs about the same as buying the tools, without the risk. That math gets even tighter when you consider that a wrong-sized winding bar or a borrowed pry bar is worse than no bar at all. When the tools cost as much as the repair, doing it yourself isn’t saving money, it’s buying equipment you’ll use once.
How to diagnose the problem yourself before you call
A correct diagnosis before you pick up the phone means you’re paying for a repair, not a conversation. It also means the person who arrives already knows what to bring. In our experience, homeowners in Hilltop who can describe the symptom accurately get their door fixed faster, because there’s no back-and-forth about what “it’s not working right” means.
Work through these steps with the door closed and the opener unplugged:
- Look at the springs. A torsion spring with a visible gap in the coil has broken. Extension springs that hang loose or dangle at an angle have stretched or snapped. Either way, stop here; this is a professional job.
- Try the door by hand. Disconnect the opener with the release cord and lift the door halfway. A door that feels extremely heavy, or that slams down instead of holding, has a spring or balance problem.
- Watch the door travel. If it goes up crooked, binds partway, or grinds, the problem is in the tracks, rollers, or cables, not the opener.
- Check the sensors. If the door starts down and reverses immediately, look at the two lenses near the floor. A blinking light on either one points to a misalignment or an obstruction.
- Listen to the opener. A motor that hums without moving the door has a stripped gear or a dead capacitor. A motor that clicks and does nothing may have a logic board or remote issue. That’s the point to look at garage door opener repair, because the fix depends on which of those it is.
- Note the brand and model. The label on the opener’s rail or back panel tells you what you’re dealing with. A Craftsman unit from a decade ago and a current LiftMaster don’t troubleshoot the same way.
Write down what you find. A sentence like “the door reverses halfway down and the left sensor light blinks” saves a diagnostic step and gets you a more accurate estimate.
Cables, tracks, and panels: where DIY goes wrong
Cables and tracks look like straightforward hardware and are anything but. A lift cable is under the same tension as the spring it works with, and a track that’s out of plumb changes how the door rides, which in turn strains the opener and the springs. These are the jobs where a homeowner’s confidence most often outruns the actual risk.
What each of these involves:
- Cable replacement. The cable runs from the bottom bracket up to the drum at the top of the door. Replacing it means releasing spring tension first, which puts you back in the spring system’s territory. A cable that snaps while under load is dangerous, and so is one that’s reinstalled with the wrong tension.
- Track realignment. A door that’s been bumped by a car or has drifted out of square needs its tracks brought back to plumb, and the adjustment has to account for the door’s weight. Forcing a bent track straight with a mallet usually makes the binding worse.
- Panel replacement. A dented bottom panel on a Clopay or Raynor door is a cosmetic fix only if the panel matches and the hinges and struts line up. On many doors the bottom section carries the cable brackets, which means the repair overlaps with tension work.
- Bottom bracket work. The bracket at the base of the door is where the cable attaches under load. It’s one of the parts most likely to injure a DIYer, because it holds tension even when the door is down.
If your door has taken a hit and the tracks look off, that’s a call, not a project. Panel damage from a backed-in car is common in Hilltop driveways, and it’s worth having someone look before you decide whether it’s a panel or a whole door. Our garage door installation page covers when a replacement makes more sense than a repair.
Opener problems you can troubleshoot yourself
Openers are the most DIY-friendly part of the whole system, because the electrical work is already done and most of what fails is either a pairing issue or a mechanical wear item. If your opener is a LiftMaster, a Chamberlain, a Genie, or a Craftsman, the manual covers most of what you’d need, and the brand matters less than the symptom.
Start with these checks:
- Replace the remote battery. It sounds obvious, and it’s the single most common cause of a remote that stops working.
- Test the wall button. If the wall control works but the remote doesn’t, the problem is in the remote or the receiver, not the motor. If neither works, the issue is at the opener.
- Look at the safety sensors again. Sunlight hitting a sensor lens, a spider web, or a broom leaning against the beam will all stop a door from closing.
- Check the manual release. If the door is disconnected from the carriage, the opener will run but the door won’t move. Re-engaging the carriage is a pull and a push.
- Listen for the hum. A motor that runs but doesn’t move the door, or a door that only moves when you help it, points to a gear, capacitor, or force-setting issue that needs a technician.
Smart-home connectivity is the newer wrinkle. A Wi-Fi opener that won’t connect to the app is usually a router band or pairing issue rather than a hardware failure, and it’s worth a reset before you assume the unit is dead. If the troubleshooting runs out, that’s what we’re here for.
What “I’ll just watch some videos” actually costs
When a DIY repair goes wrong, the bill usually comes in three parts: the emergency call, the secondary damage, and sometimes the injury. We can’t put a number on the last one, and we won’t pretend to. But the first two are worth understanding before you decide to try a spring job on a Saturday afternoon.
Secondary damage is the part people don’t plan for. A door that comes down unevenly because a spring was wound wrong can bend a track, crack a panel, or strip the opener’s gear. What started as one repair becomes three, and the parts bill climbs. An unbalanced door also wears its rollers and hinges faster, so the damage keeps showing up for months.
Emergency calls cost more than scheduled ones across the trade, ours included, because the work has to be done when the door is stuck open or stuck shut. A door that won’t close is a security problem for your Hilltop home, and a door that won’t open traps your car. That’s why the smart move is to schedule the repair while the door still works, rather than after it fails.
And then there’s the injury risk, which is the part no cost comparison captures. A torsion spring that releases uncontrolled doesn’t give you a warning. The honest accounting is this: the tasks on the safe list are worth doing yourself, and the tasks that aren’t are worth paying for. That’s not a sales pitch, it’s the same advice we’d give a neighbor.
Hilltop conditions that change the calculation
Ohio’s freeze-thaw cycle does a number on garage doors, and Hilltop gets the full seasonal swing. Winter cold makes steel and springs more brittle, and the constant expansion and contraction through the year works on every fastener and seal on the door. That’s a maintenance reality more than a repair one, but it changes what’s worth checking and when.
What that means in practice:
- Springs fail more often in cold snaps. A spring that’s been slowly losing tension all year tends to give out on the first genuinely cold morning, when the metal is least forgiving. If your door sounds different in January, that’s why.
- Bottom seals take the worst of it. Freezing and thawing at the floor line cracks rubber seals faster than you’d expect, and a cracked seal lets cold air and moisture in. This is a genuinely DIY-friendly fix and one worth doing before winter.
- Lubrication intervals matter more. What lasts six months in a mild climate may need attention sooner here. Cold thickens lubricant, and dry hinges in freezing weather are noisy and wear faster.
- Ice and snow at the threshold. A door that’s iced to the floor and then forced open by the opener puts strain on the bottom section and the lift cables. Clearing the threshold before you hit the button is a small habit that prevents real damage.
Hilltop’s housing stock also matters. Older detached garages often have doors that have been through decades of these cycles, and the springs on them may already have been replaced once with whatever was on hand. If your door is in an older part of Hilltop and the springs look mismatched or the door has never felt quite balanced, it’s worth a look. Our main page at Garage Door Repair Hilltop lays out the full service range if you want to see what we cover.
Common Mistakes to Avoid
- Using screwdrivers as winding bars. A screwdriver doesn’t seat in the winding cone, and it will slip. This is the single most dangerous shortcut in garage door work, and it’s the one we hear about most.
- Following an extension-spring tutorial on a torsion door. The steps don’t transfer, and the tools are different. Confirm which system you have before you watch anything.
- Replacing one spring when both are the same age. Springs in a matched pair wear at the same rate. Replacing one leaves you back under the door within a year, and the newer spring takes more of the load.
- Forcing a bent track straight. A track out of plumb needs adjusting, not persuading. Forcing it usually bends it further and makes the door bind worse.
- Ignoring a door that reverses. A door that reverses on the way down is telling you the safety system is working, not that it’s broken. The fix is at the sensor, not the motor.
- Oiling the tracks. Tracks should stay dry. Lubricant on a track collects grit and makes rollers slide instead of roll, which is the opposite of what you want.
- Waiting until the door won’t close. A door that’s stuck open in a Hilltop winter is a security problem and a cold house. Scheduling the repair while the door still works keeps the cost and the stress down.
See the difference
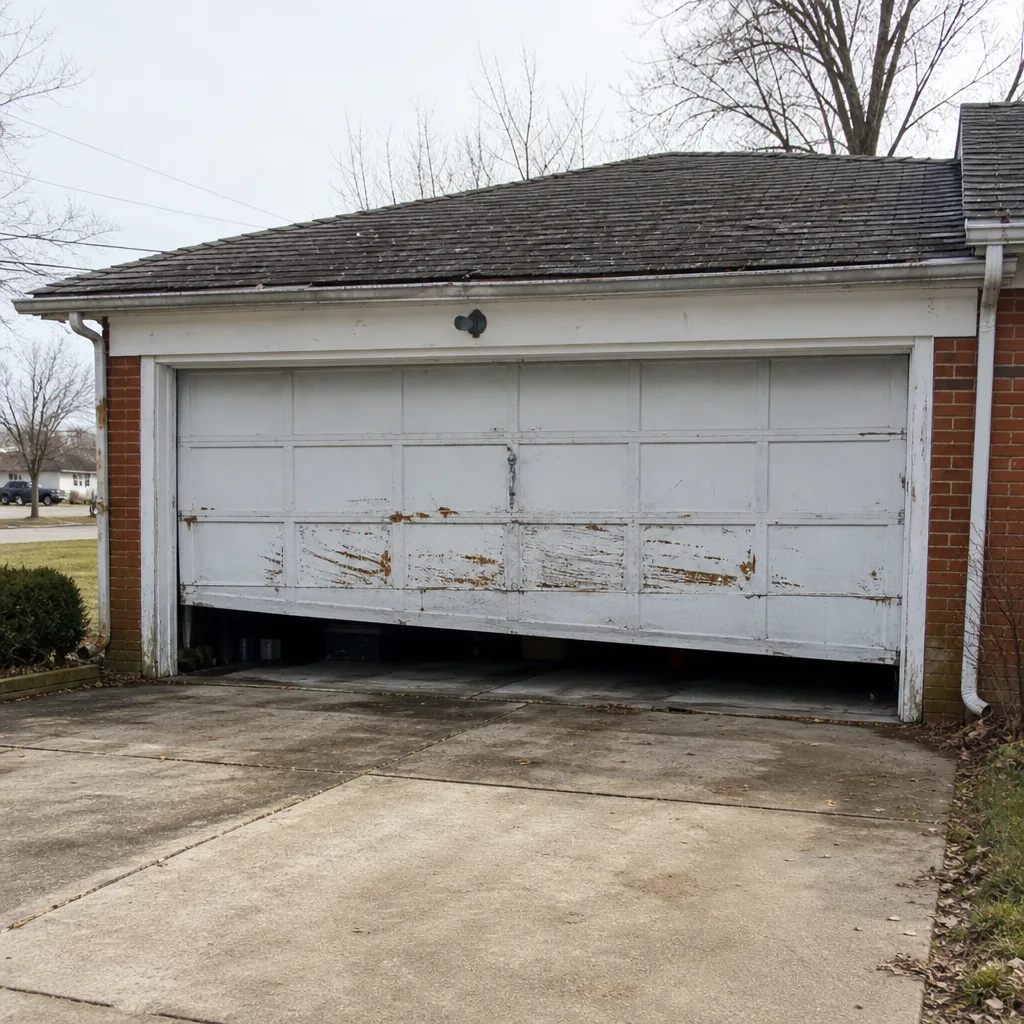 Before
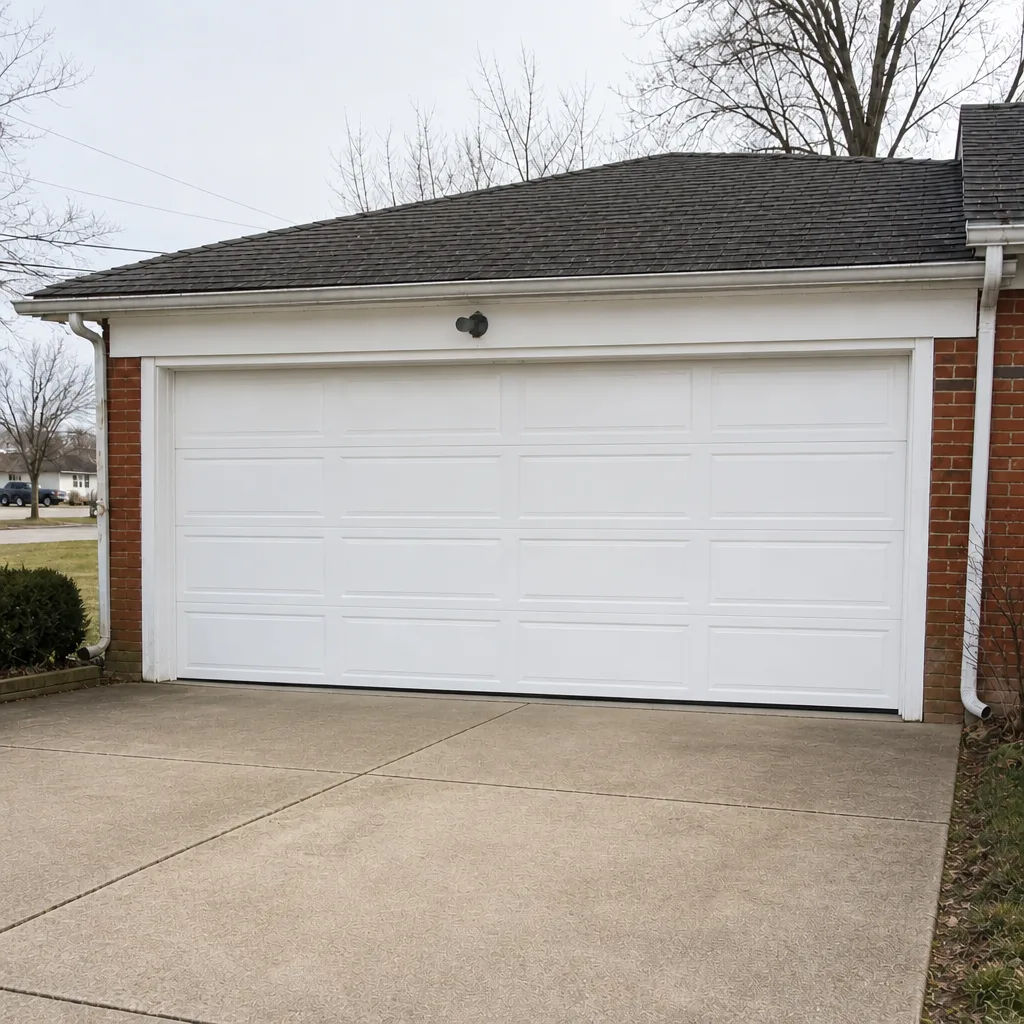 After
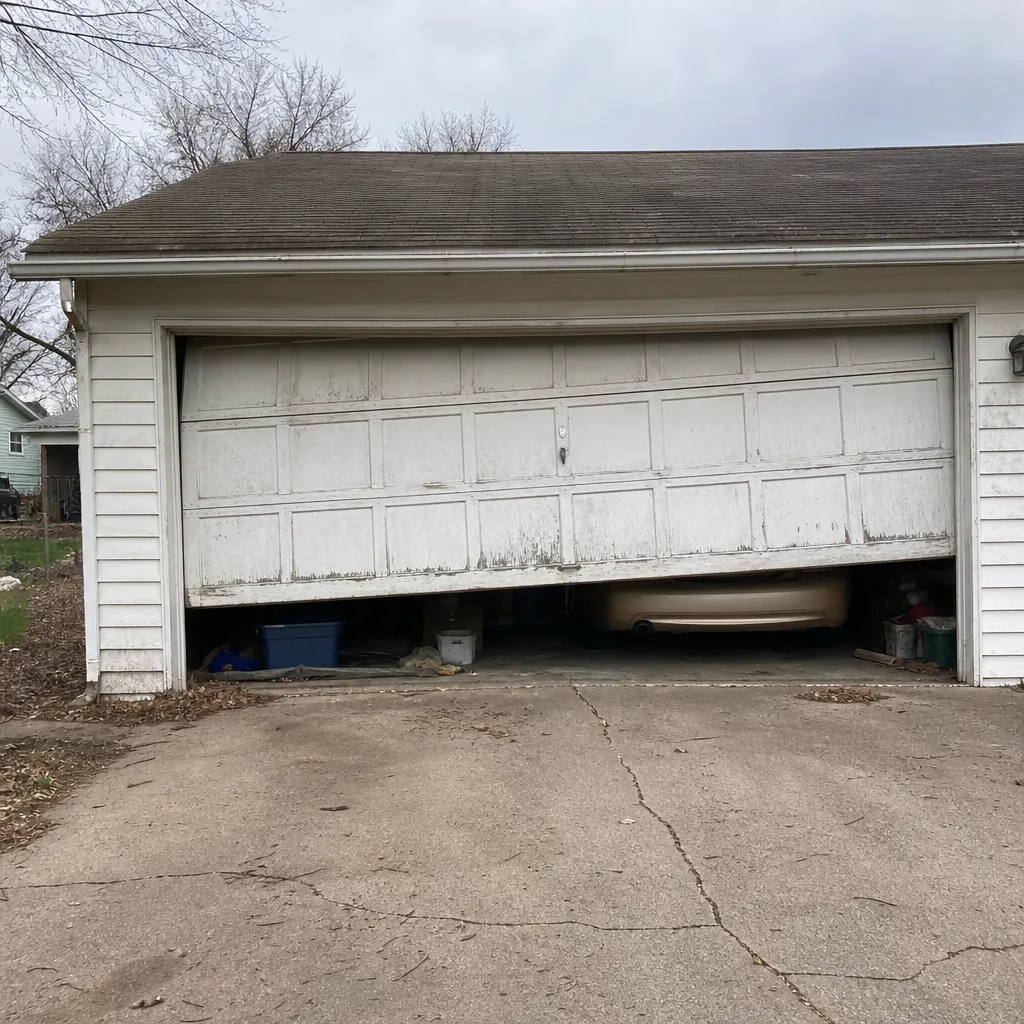 Before
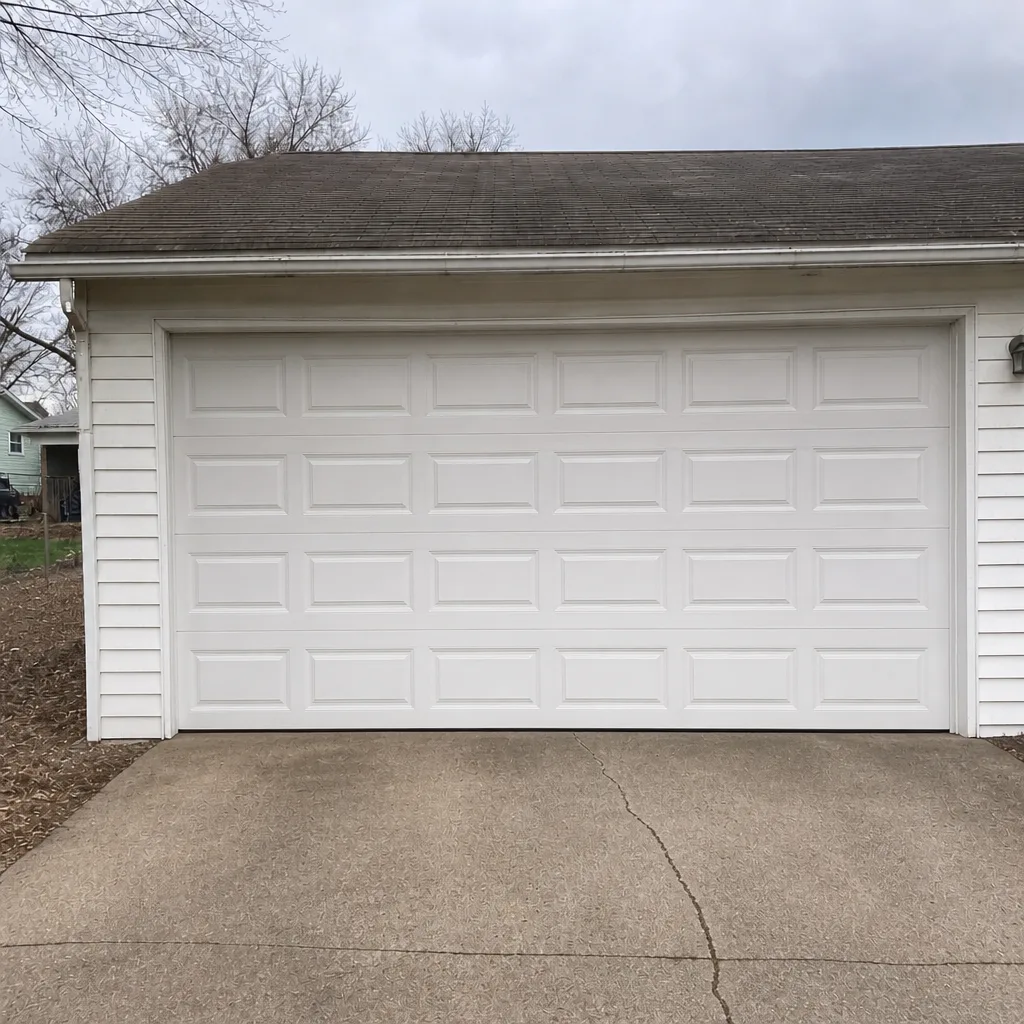 After
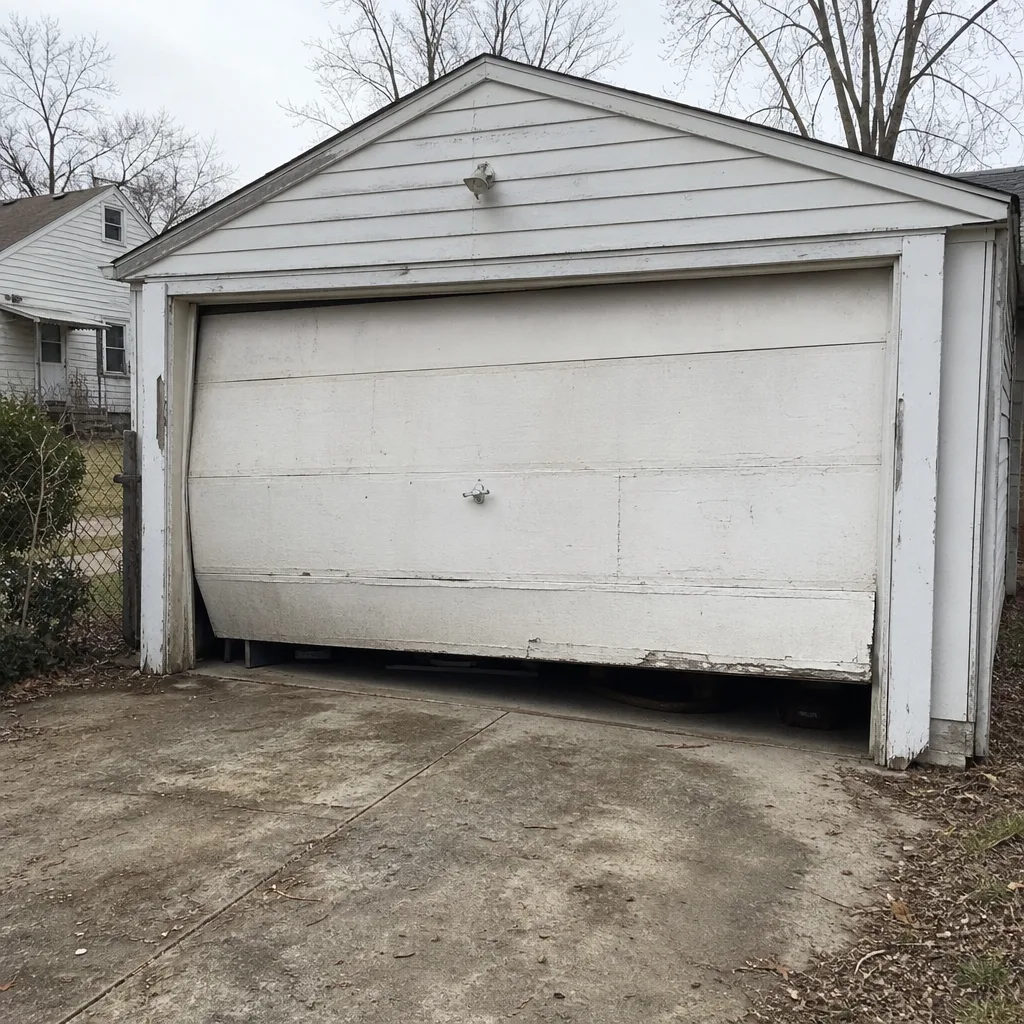 Before
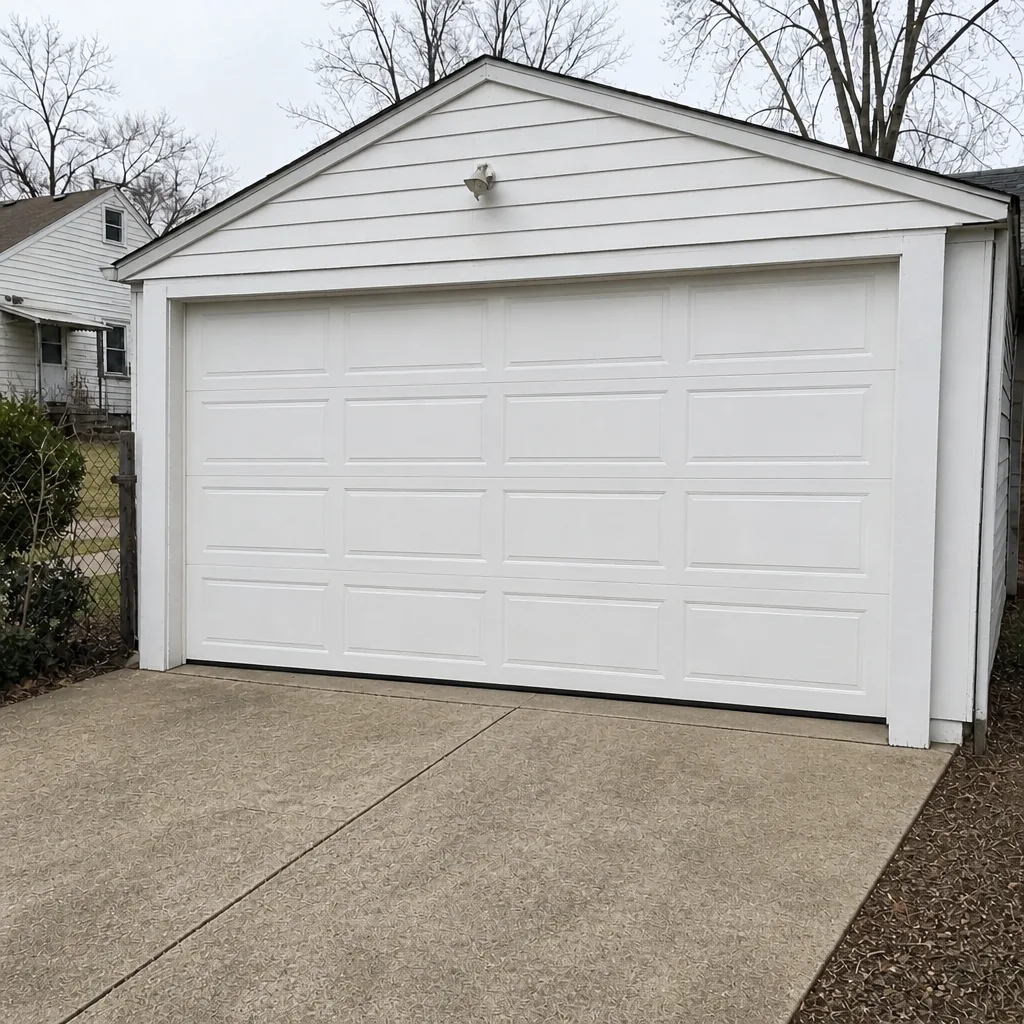 After
When to Call a Professional
Call us when the problem involves anything under tension: a broken or sagging spring, a cable that’s jumped its drum or snapped, a track that’s out of plumb after an impact, or a bottom bracket that’s loose. Call when the door only moves if you help it, when the opener hums without lifting the door, or when a panel has taken damage and you’re not sure whether it’s a repair or a replacement. And call if you’ve started a job and hit something that doesn’t match the video, because that’s the moment to stop. Garage Door Repair Hilltop offers free estimates in Hilltop; call (866) 558-3346 and we’ll tell you honestly whether you’re looking at a repair or a replacement, and what it will take.
Frequently Asked Questions
It’s physically possible, and it’s one of the riskiest jobs in the house. A torsion spring holds enough stored energy to cause a serious injury if it releases uncontrolled, and the job requires two winding bars used together in a specific sequence. We don’t recommend it, and we’d rather see you spend the money on a repair than on a trip to the emergency room.
Spring repair is priced per job, and the written estimate sets the final price, so there’s no surprise on the invoice. A matched pair is usually replaced together, and that costs more than a single spring because there are two of them. Call (866) 558-3346 for an exact quote, since estimates are free.
Yes, in most cases. A door stuck open is a security problem, so we prioritize it. We answer 24/7. Fast dispatch from 7am to 7pm, Sunday through Friday, and if you call outside those hours we’ll book you into the next opening. Call (866) 558-3346 and we’ll get you on the schedule.
No. The estimate is free, we quote the job before any work starts, and we don’t start until you’ve agreed to the number. If we find something the estimate didn’t account for, we tell you before we touch it rather than after.
No, and you should stop using the opener if you suspect a broken spring. A door running on one spring is unbalanced, which strains the opener, the cables, and the remaining spring, and the door can come down unevenly. Leave it closed and call (866) 558-3346.
In most cases, yes. We work on equipment from LiftMaster, Chamberlain, Genie, Craftman, Clopay, Amarr, Wayne Dalton, and Raynor, and our technicians have up to 8 years of experience with them. Your opener model isn’t a mystery to us, which means less time spent figuring out what you’re looking at. Call (866) 558-3346 to confirm yours.
The Bottom Line
The DIY-versus-professional question comes down to one line: whether the part you’re touching stores energy. Weatherstripping, lubrication, sensor alignment, and remote programming are safe, useful, and worth doing yourself. Springs, cables, tracks under tension, and bottom brackets are not, and the tool cost, the secondary damage, and the injury risk all point the same way. Diagnose the problem properly first, then decide. In Hilltop, a free estimate means you can find out what the repair actually costs before you commit to anything, and that’s the cheapest step in the whole process.
If you’re not sure which side of the line your job falls on, that’s a good reason to call. Reach Garage Door Repair Hilltop at (866) 558-3346 for a free estimate. We answer 24/7. Fast dispatch from 7am to 7pm, Sunday through Friday, and we’re closed on Saturday.
Written by the team at Garage Door Repair Hilltop.